
Use SourCherry WordPress staging to safely test updates before impacting your live site. This guide covers creating a staging site, switching between environments, recognizing staging indicators, and publishing changes to live.
Note: Ensure WordPress Hosting subscription is activated for the location/sub-account.
TABLE OF CONTENTS
- What is Staging Environment Access in WordPress?
- Key Benefits of Staging Environment Access
- Feature Availability by Environment
- How To Set Up and Use Staging Environment in SourCherry WordPress
- Best Practices for Using the Staging Environment
- Frequently Asked Questions
- Related Articles
What is Staging Environment Access in WordPress?
In the world of web development, a staging environment serves as a critical component of the development and testing process. It's essentially a clone or replica of your live website, hosted on a separate server or directory, designed to facilitate a variety of tasks crucial to web development and maintenance. Staging provides a safe, separate copy of your WordPress site for testing and development without affecting your live website. It allows you to try plugins, themes, and content changes in an isolated environment, then publish approved updates to your live site when ready.
Key Elements of Staging Environments:
- Replication: Staging environments replicate your live website, including all its files, databases, and configurations. This replication ensures that you're working with a precise copy of your website.
- Isolation: The staging environment operates independently of your live site. This isolation is vital because it allows you to experiment with changes, test new features, or troubleshoot issues without affecting your live website's performance or functionality.
- Testing Ground: Staging environments are essentially a safe and controlled testing ground. They allow you to make changes, install new plugins, update themes, or modify content in a risk-free environment. This process helps you identify and resolve issues before implementing changes on your live site.
Key Benefits of Staging Environment Access
- Risk Mitigation: Web development often involves significant changes that could potentially disrupt your live site. Staging environments allow you to mitigate risks by thoroughly testing these changes before they go live.
- Enhanced Workflow: Staging environments streamline your development workflow. They provide a dedicated space for testing and refining updates, ensuring that only polished and error-free changes make it to your live site.
- Collaboration: For teams of developers, designers, and content creators, staging environments offer an efficient platform for collaborative work. Multiple team members can work on different aspects of the website simultaneously without interfering with one another's progress.
- Quality Assurance: Staging environments are invaluable for quality assurance. They help you catch and rectify issues related to design, functionality, or content before your audience encounters them on the live site.
Feature Availability by Environment
Available in Both Live & Staging:
- Plugins
- Themes
- Users
- WordPress Debugging
- Server Settings (phpMyAdmin, PHP version)
- WordPress Management (Auto-updates, SEO indexing)
Available in Live Only:
- Domain Management
- Production Analytics
- Cancel Subscription
Available in Staging Only:
- Dedicated staging URL and admin access
- Disabled areas clearly marked as staging-only
- Users added in an isolated environment with messaging during publish
How To Set Up and Use Staging Environment in SourCherry WordPress
Following these steps ensures your staging site is prepared correctly and that you publish only when ready. Publishing pushes all staging changes to live and cannot be undone.
- Log into your sub‑account.
- Go to Sites > WordPress.
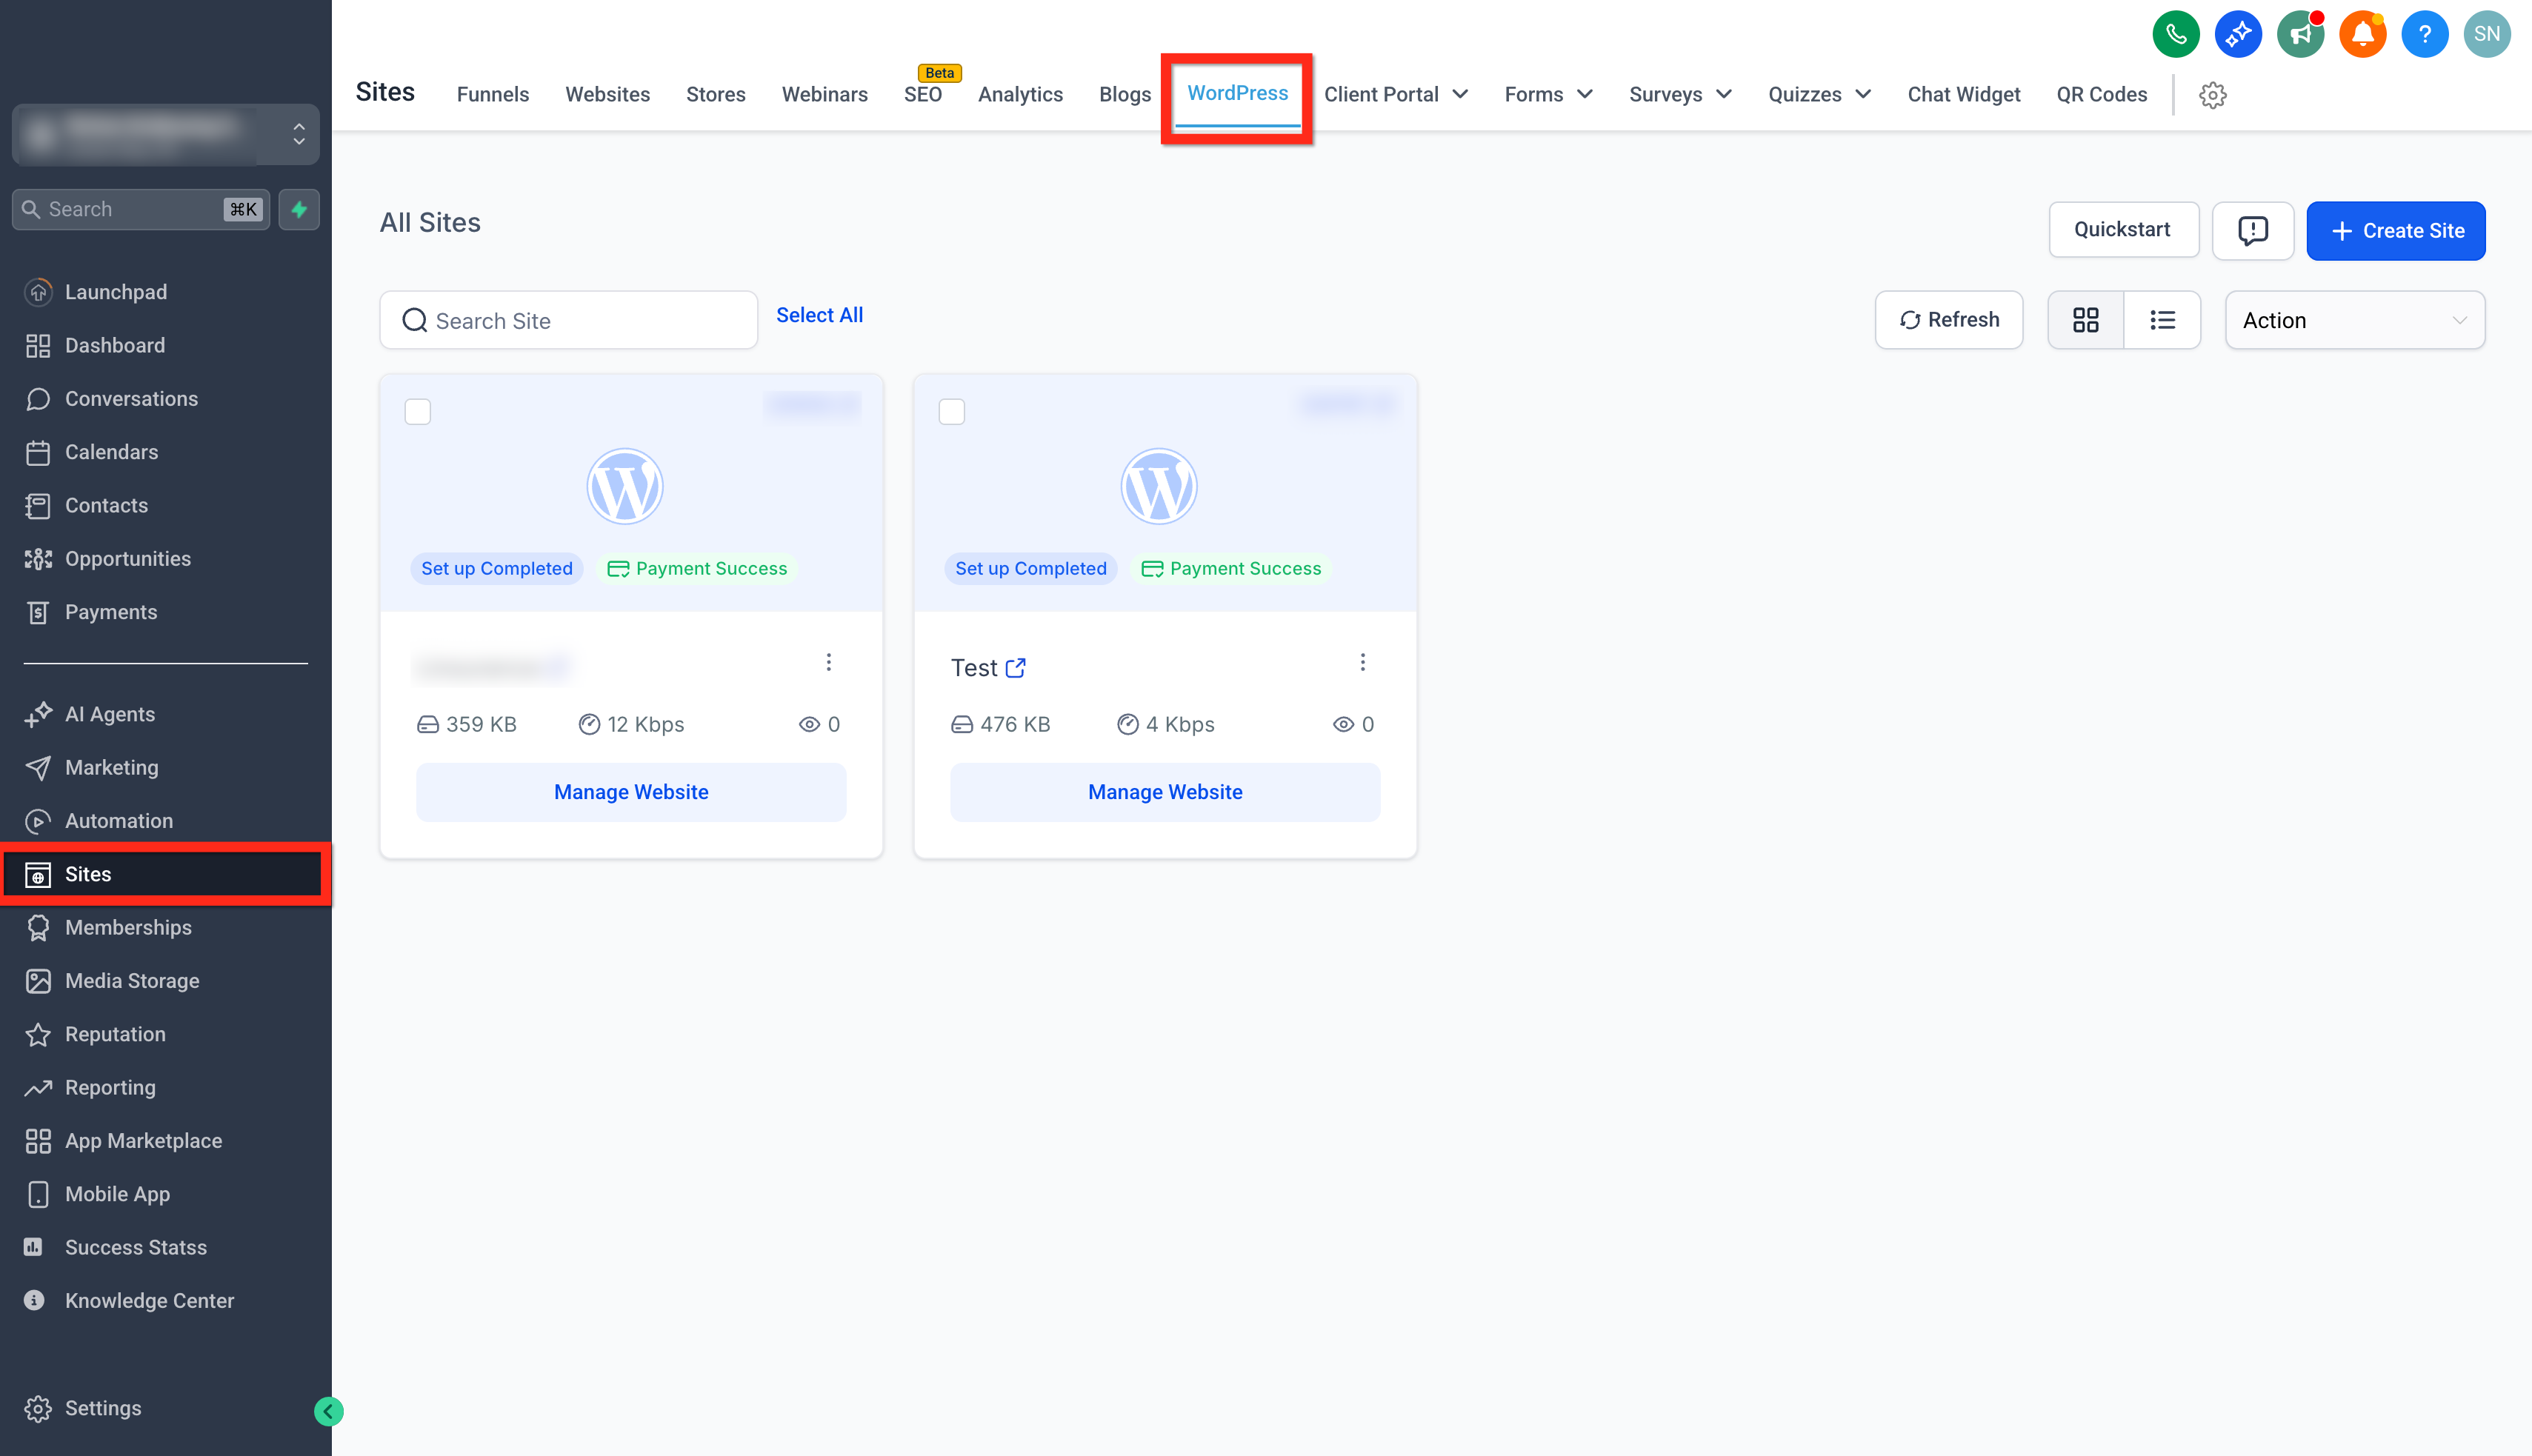
- Click on the Manage Website button for the site you want to activate staging Environment for.
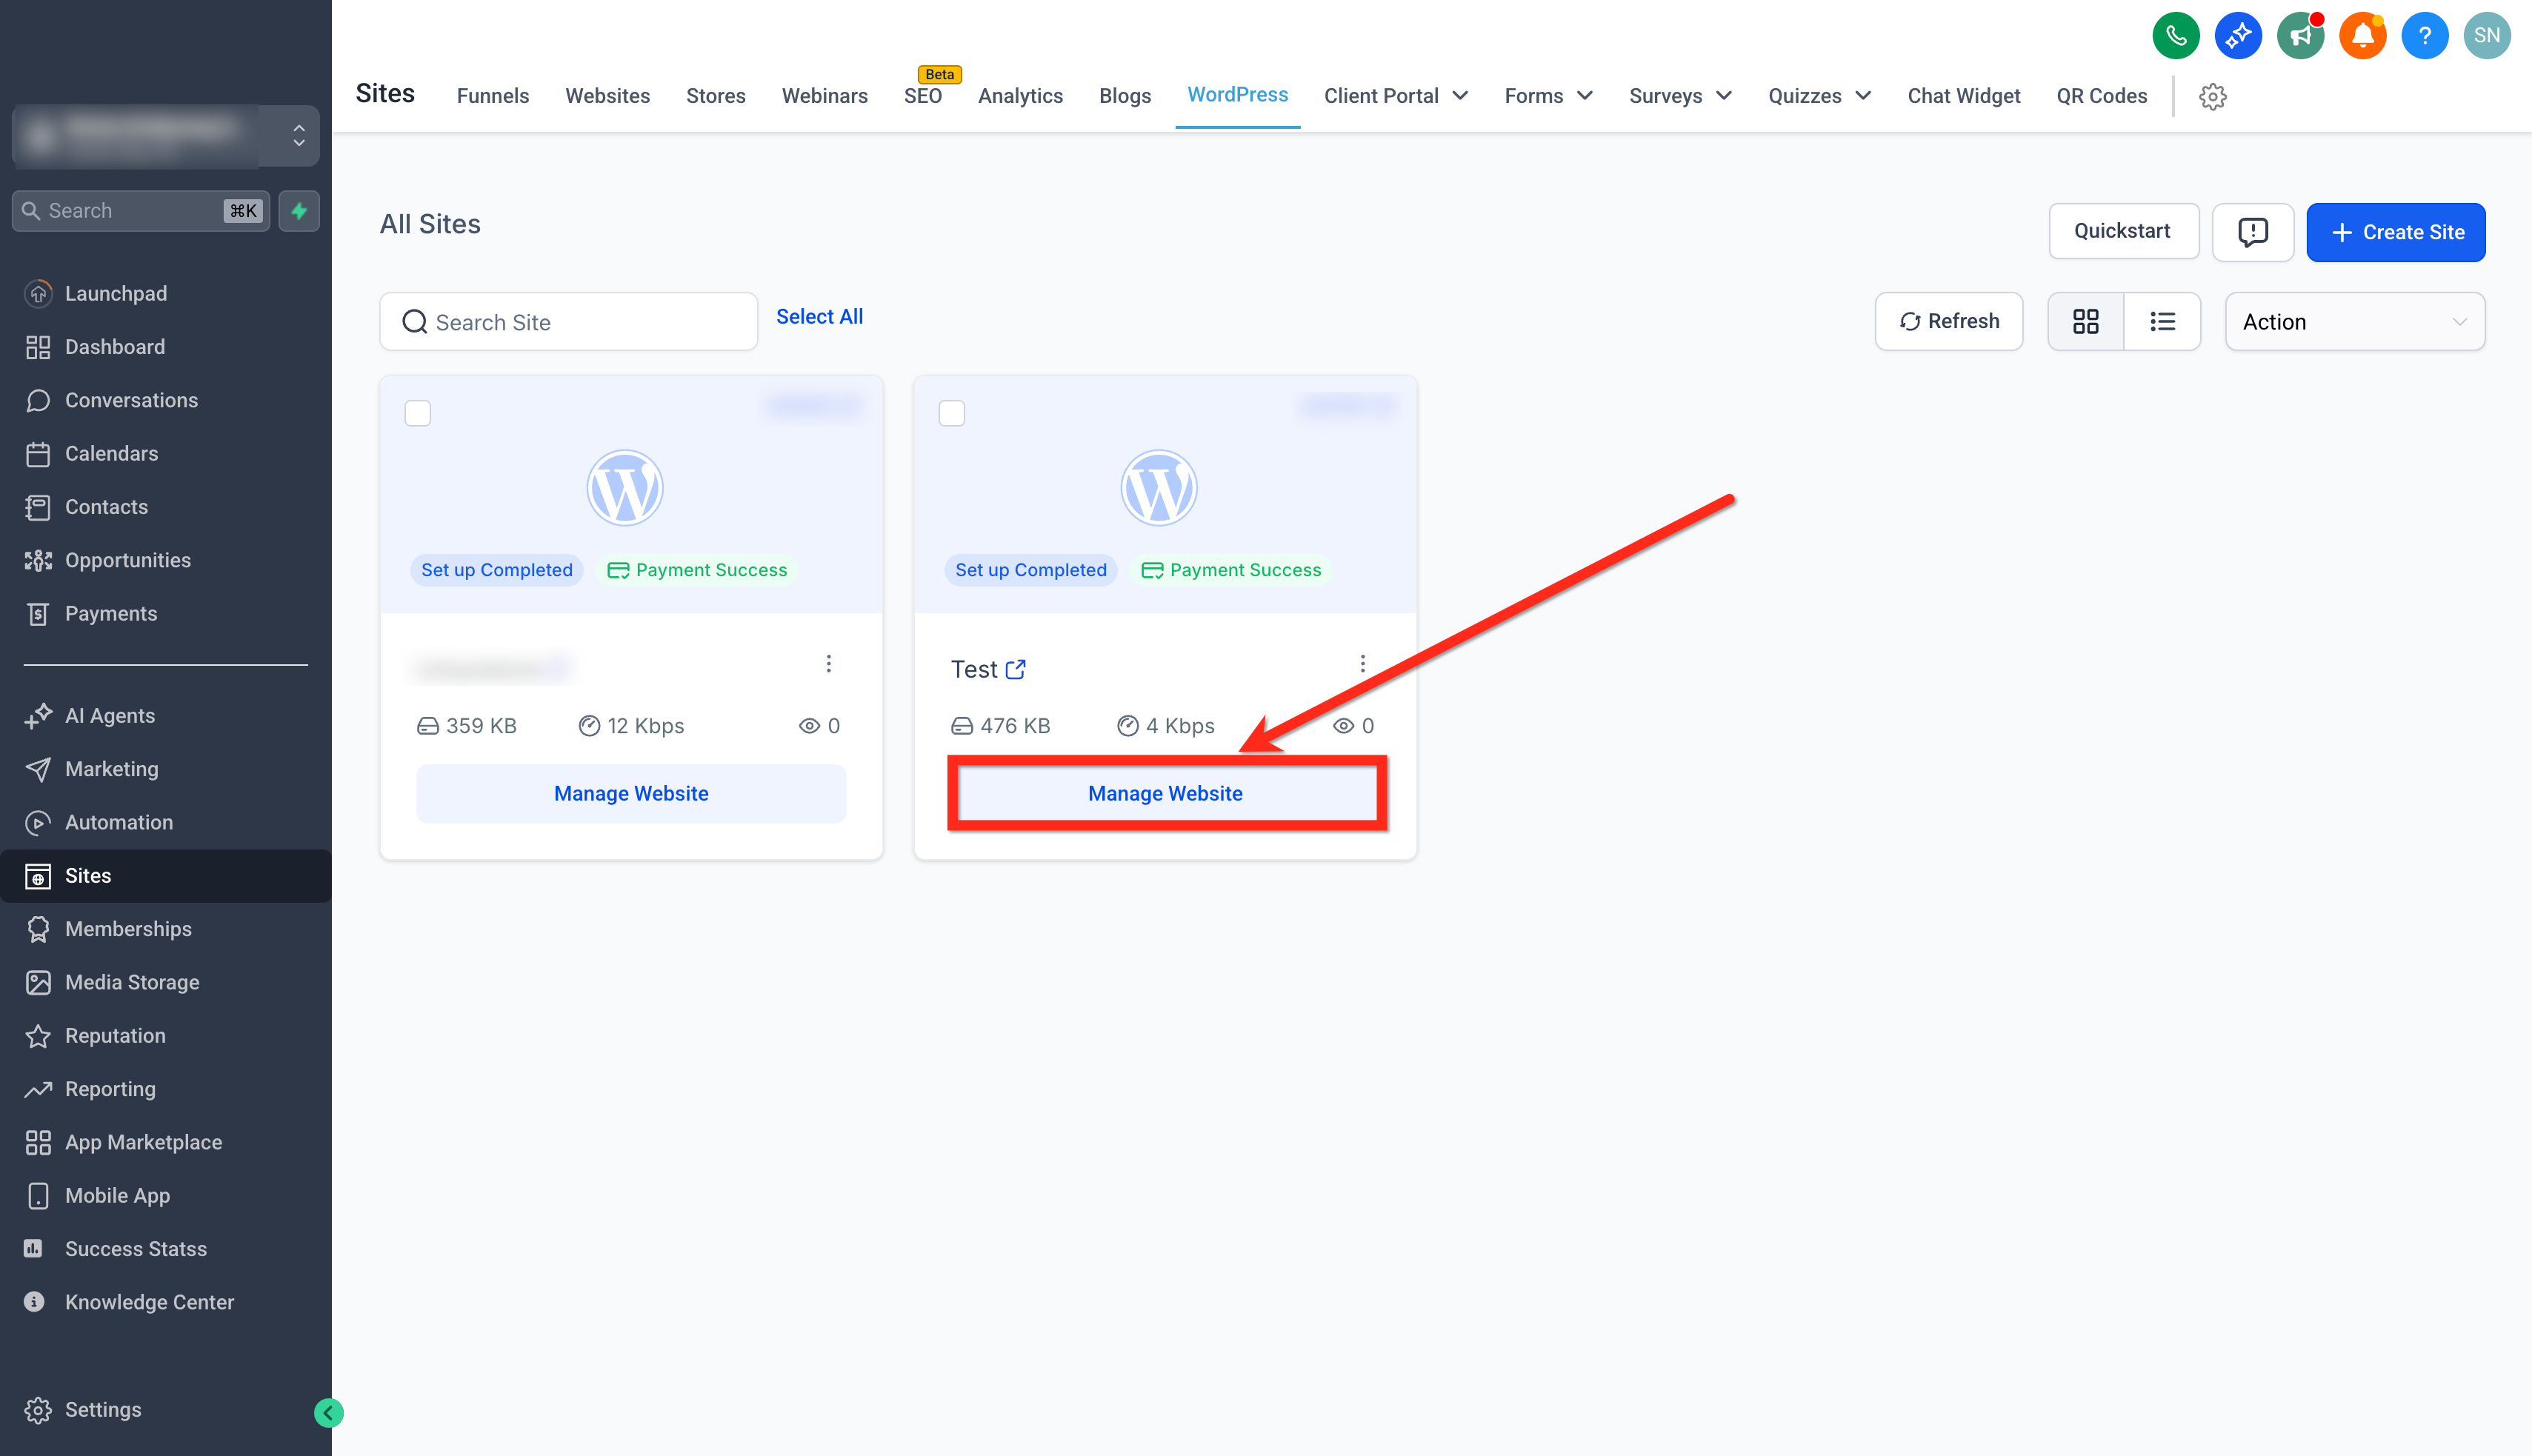
- Click + Create Environment. Preparation may take some time.
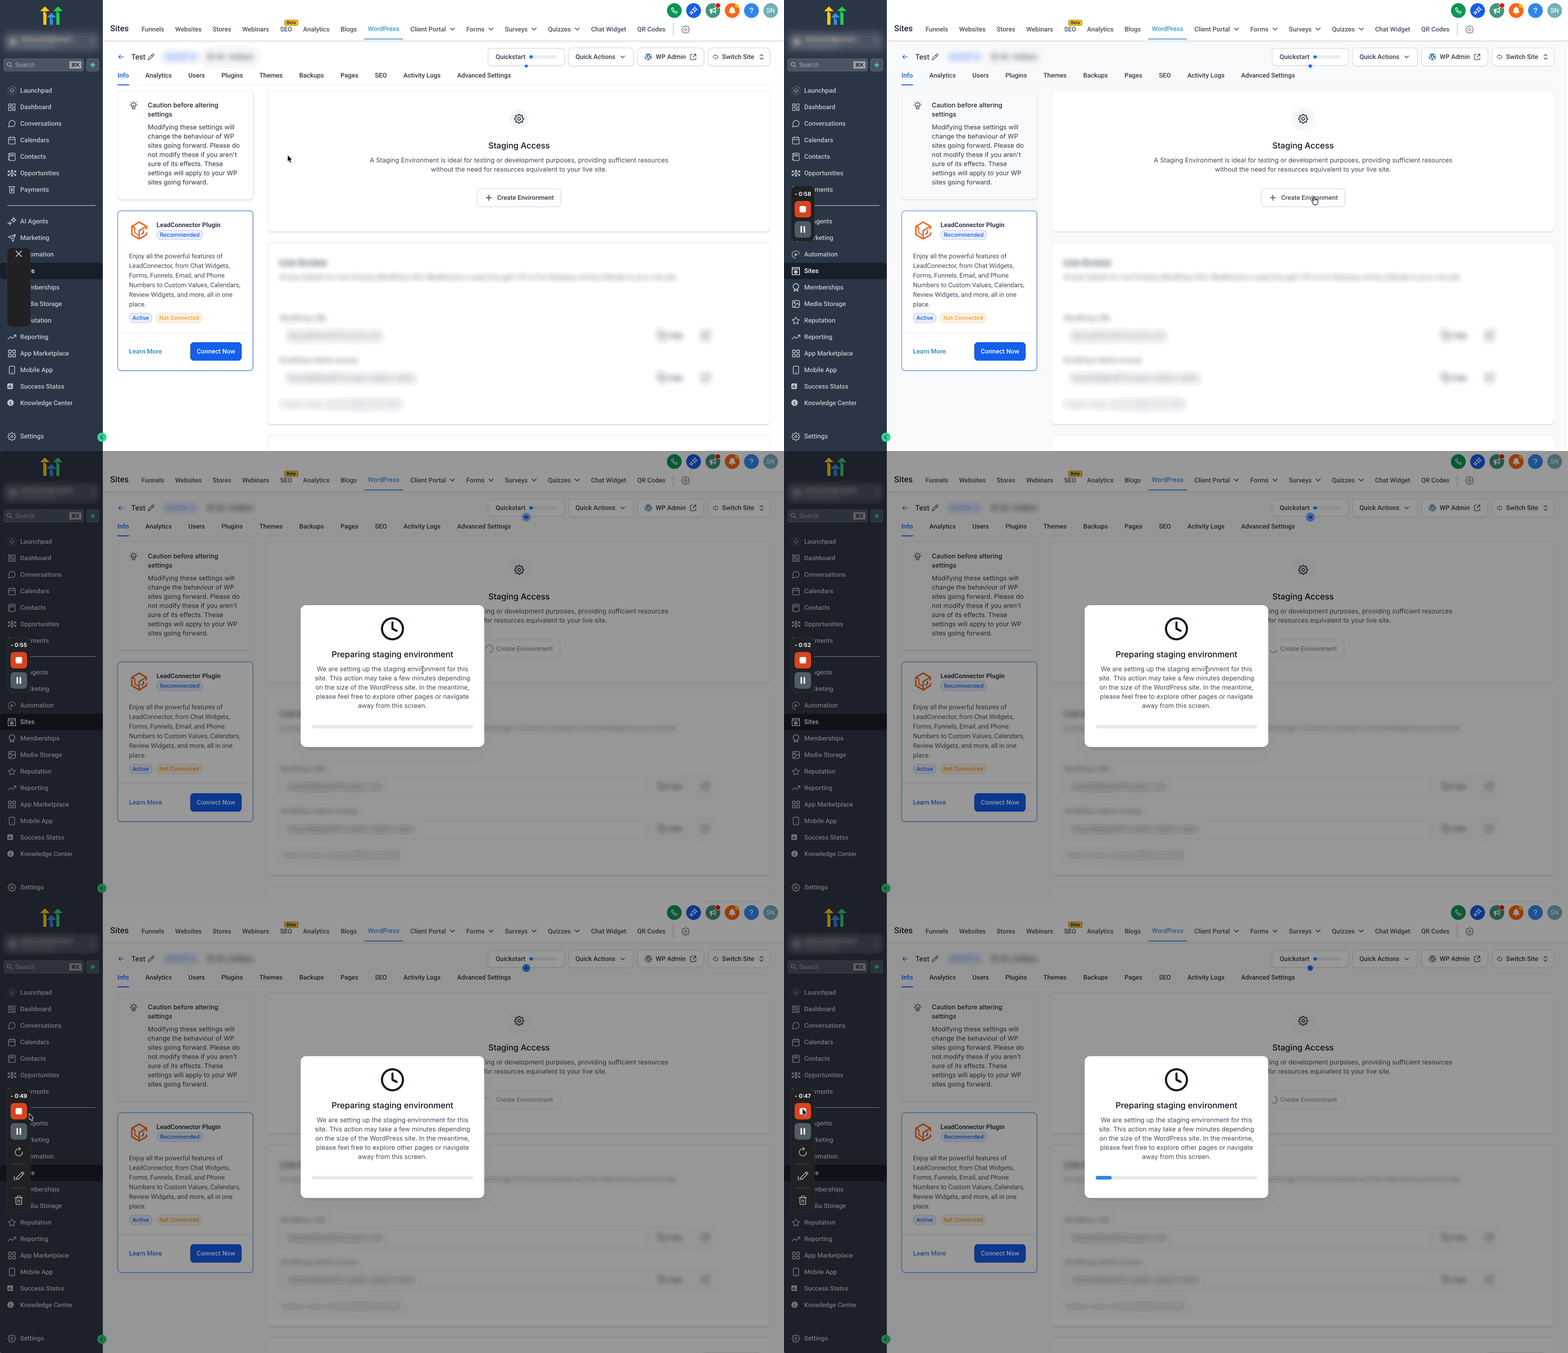
- Once complete, you’ll see the staging URL, staging admin access (to access the staging site and make changes), and related details. You can make all the necessary changes to your site and test it before publishing the changes to your live site.
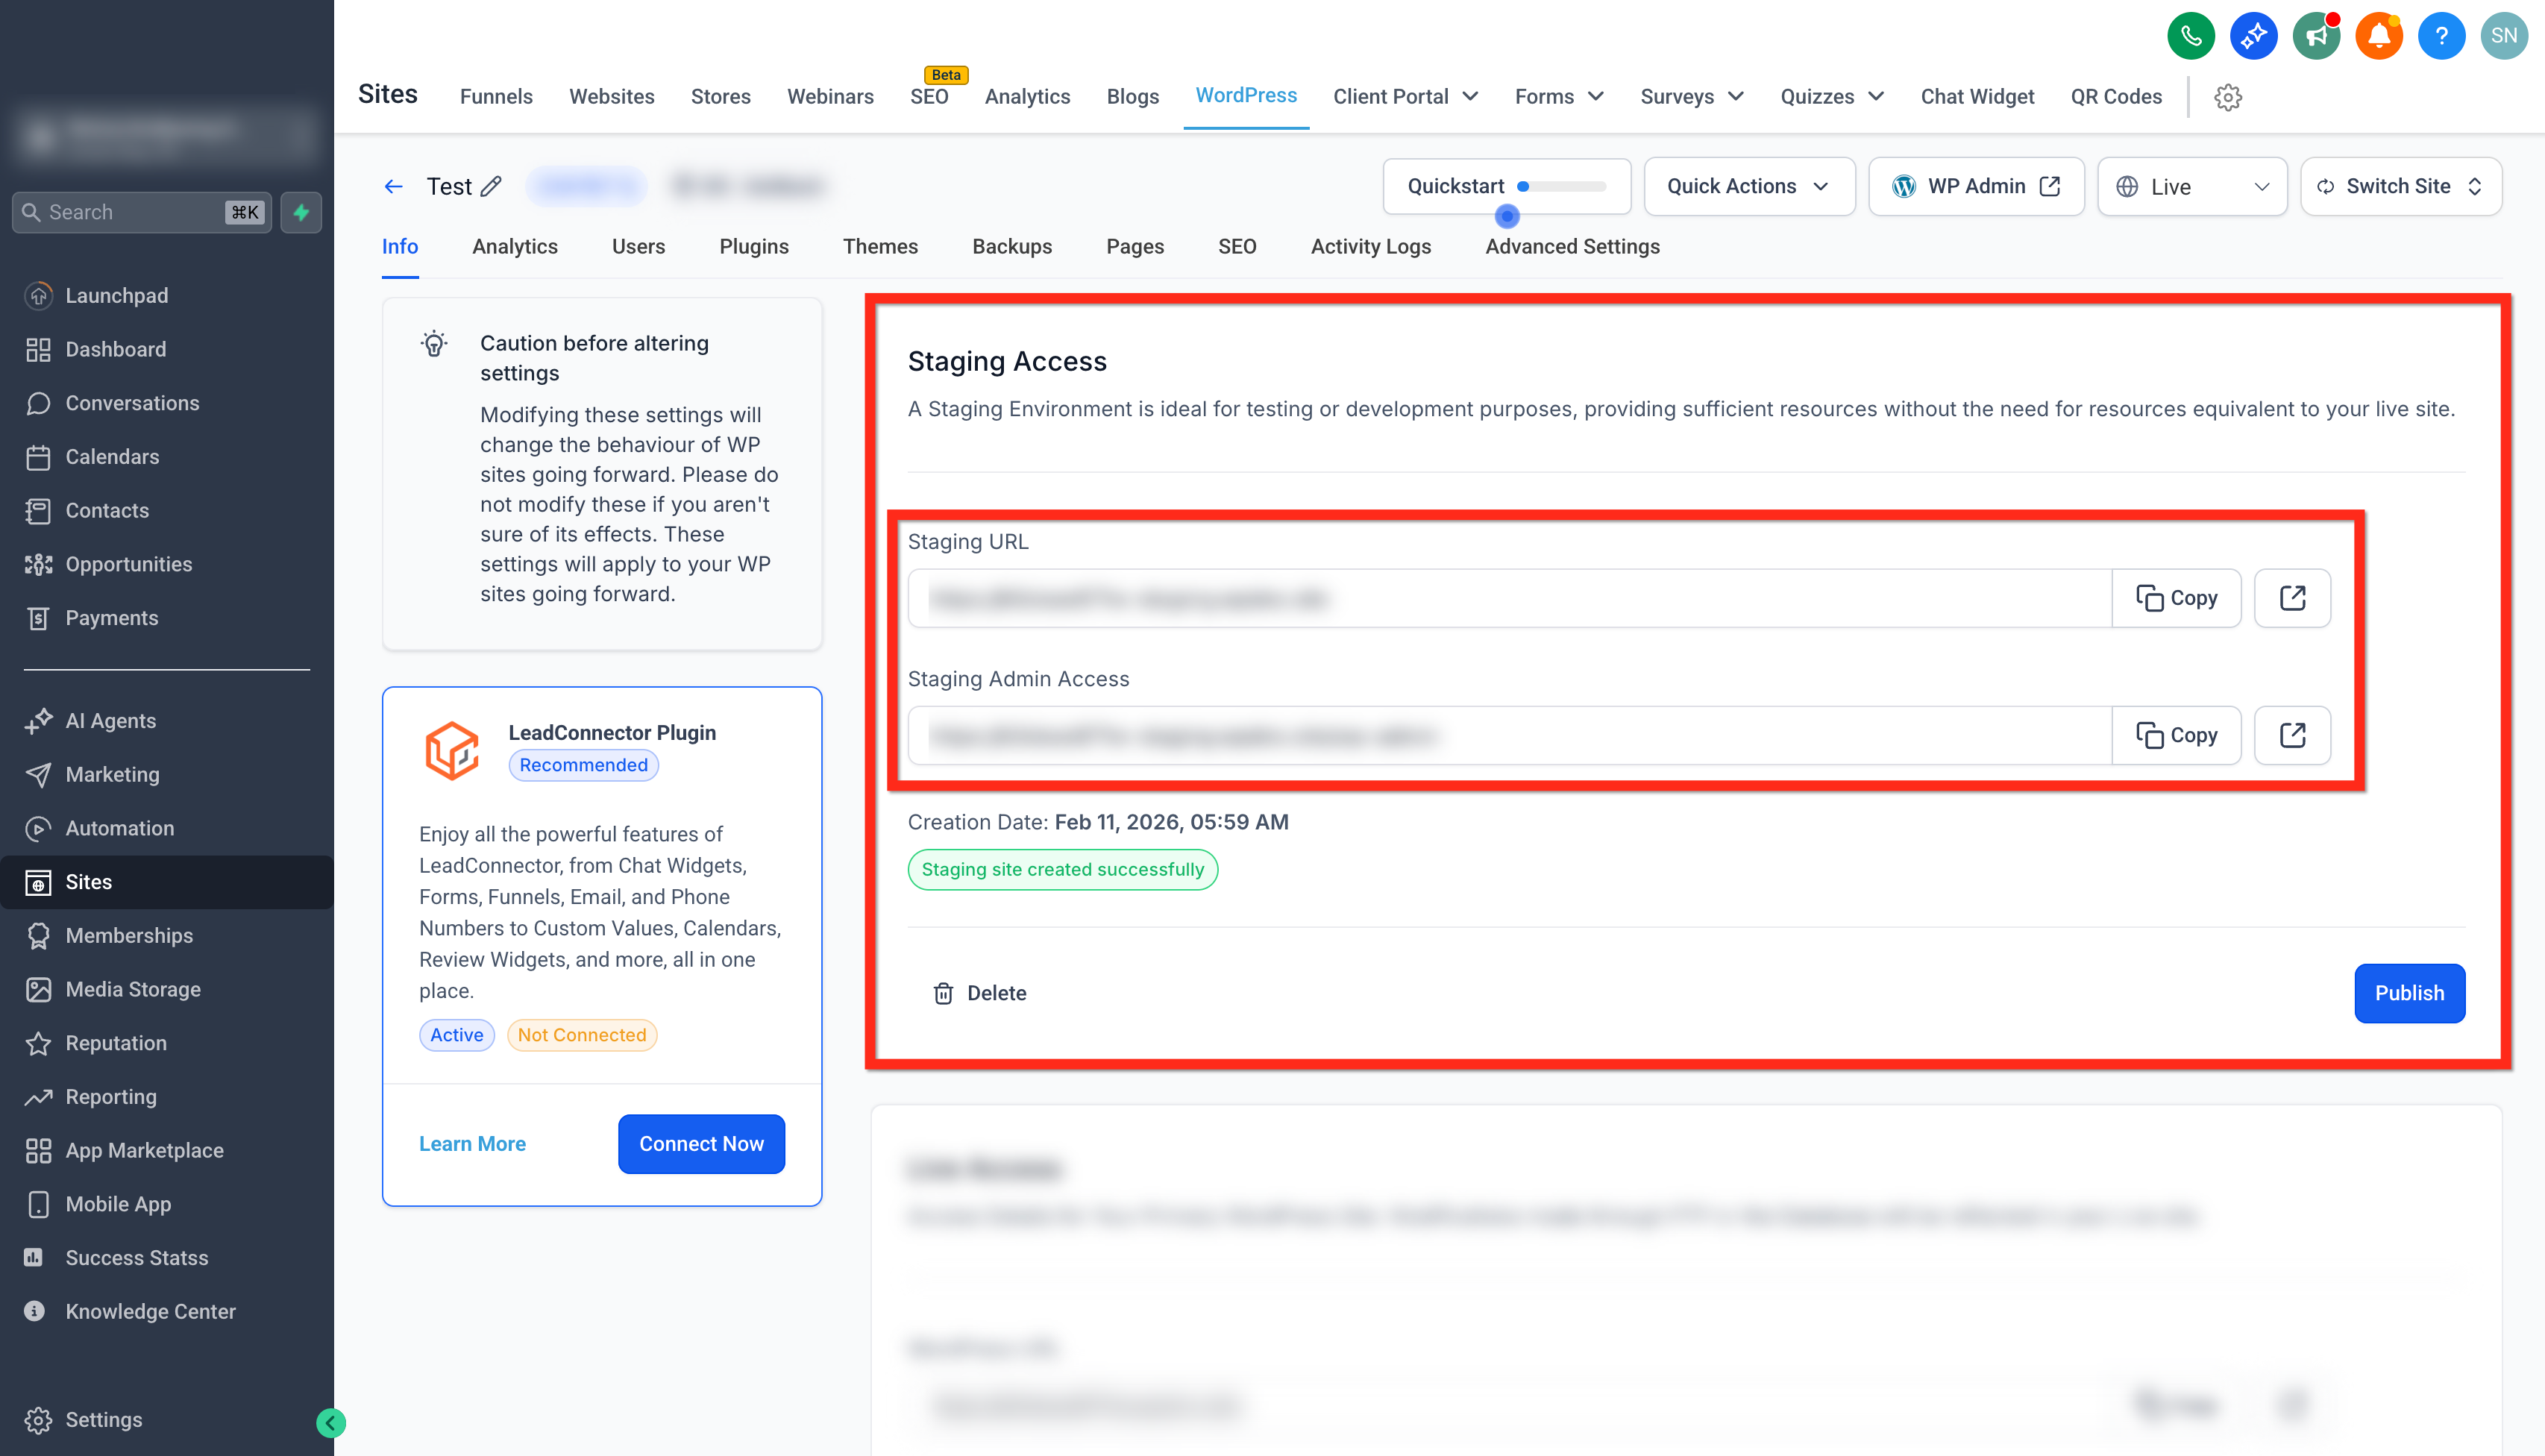
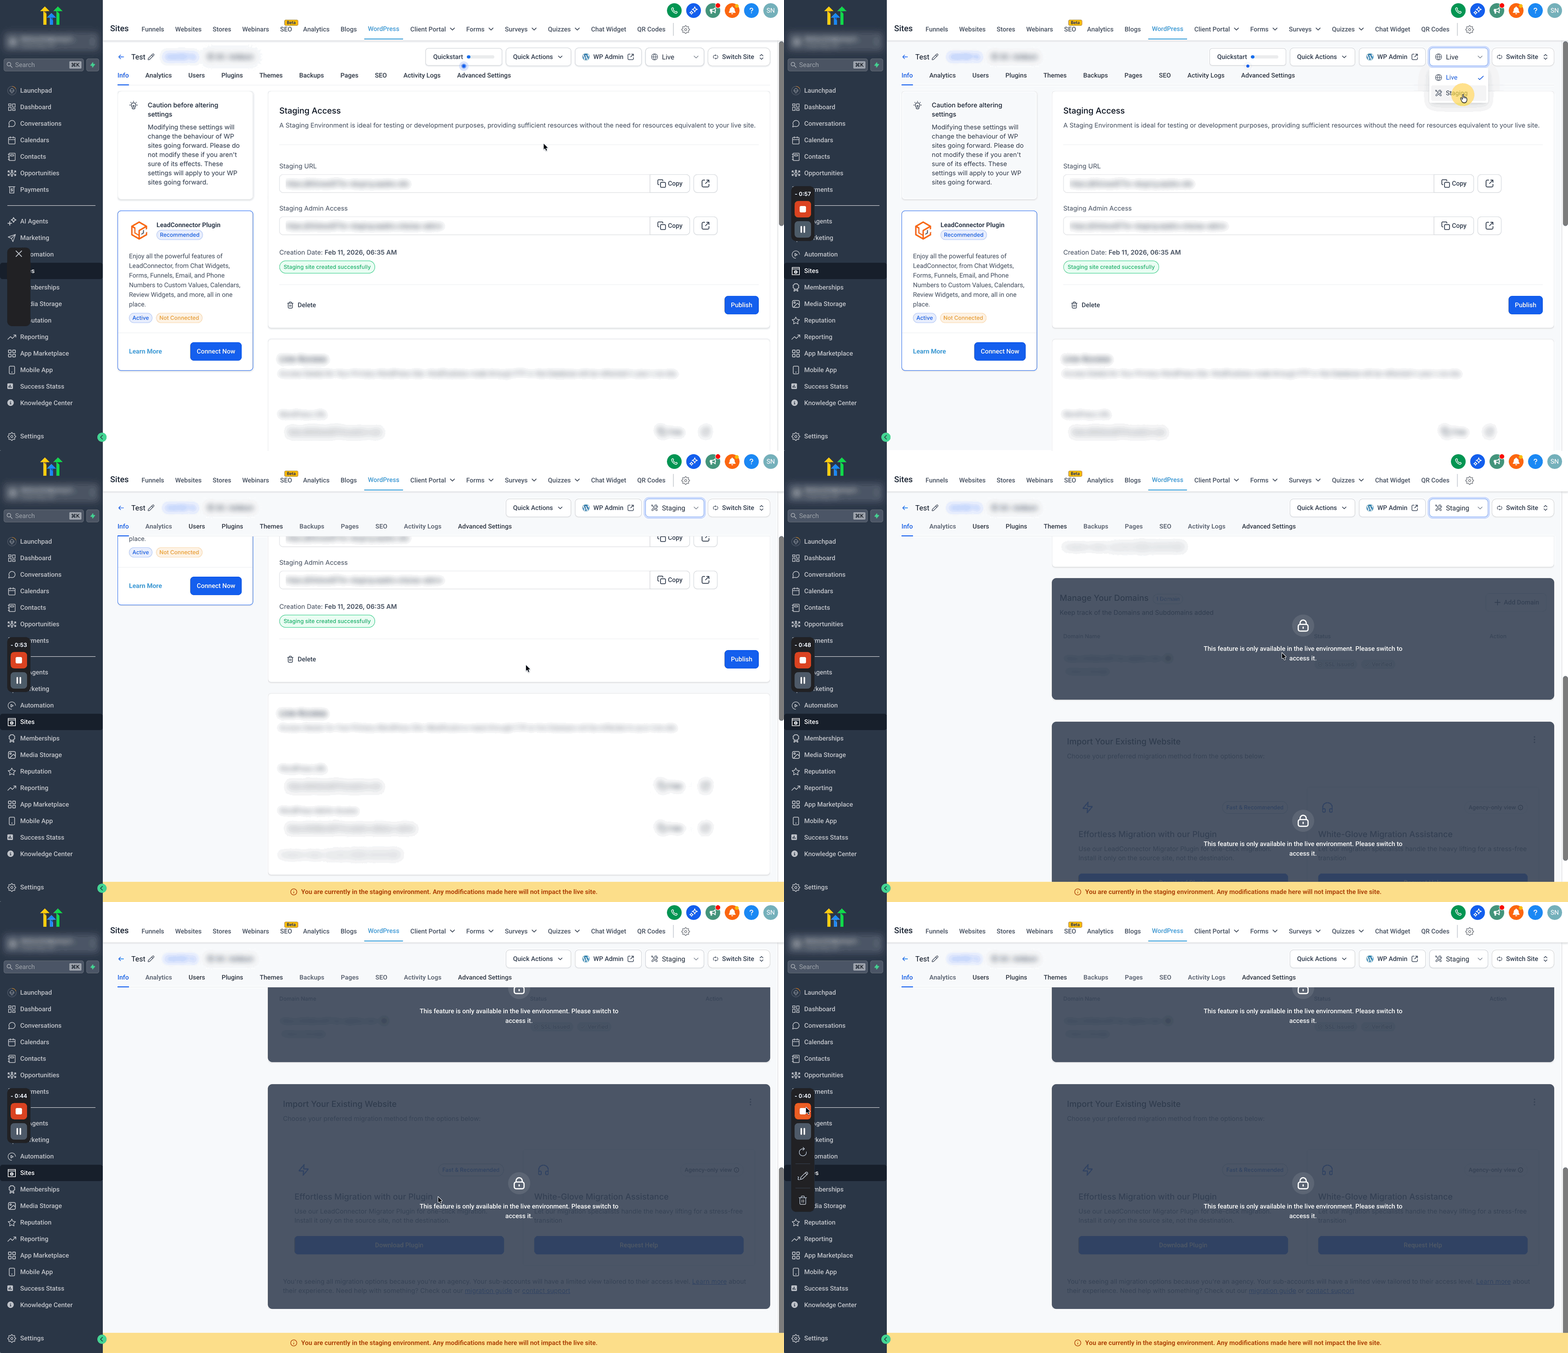
- Switch environments: Use the Live | Staging selector in the top‑right header to toggle between environments.
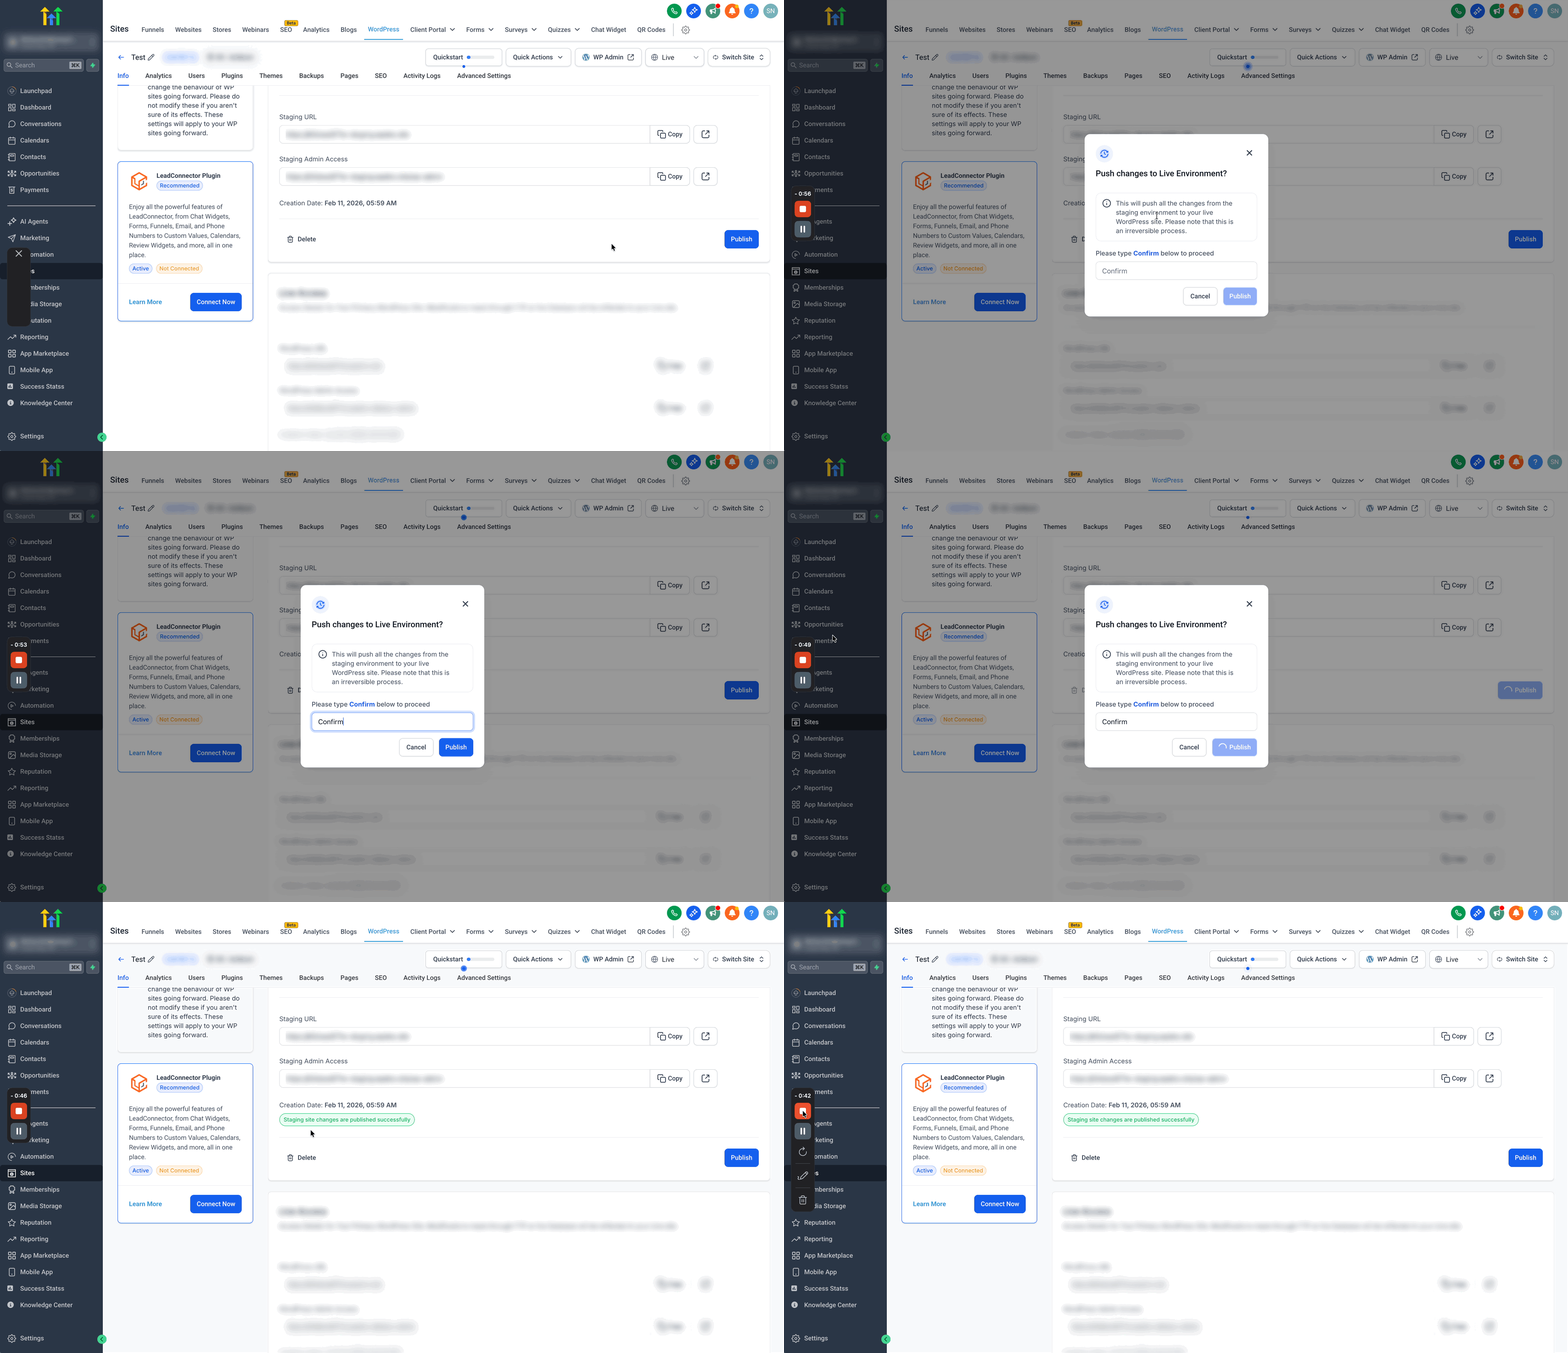
- Publish to Live (irreversible): When satisfied, click Publish to push changes to live environment. This pushes all changes from Staging to Live and is irreversible. Review your changes carefully before publishing. Upon confirming, your site will be published within the next 2 to 5 minutes.
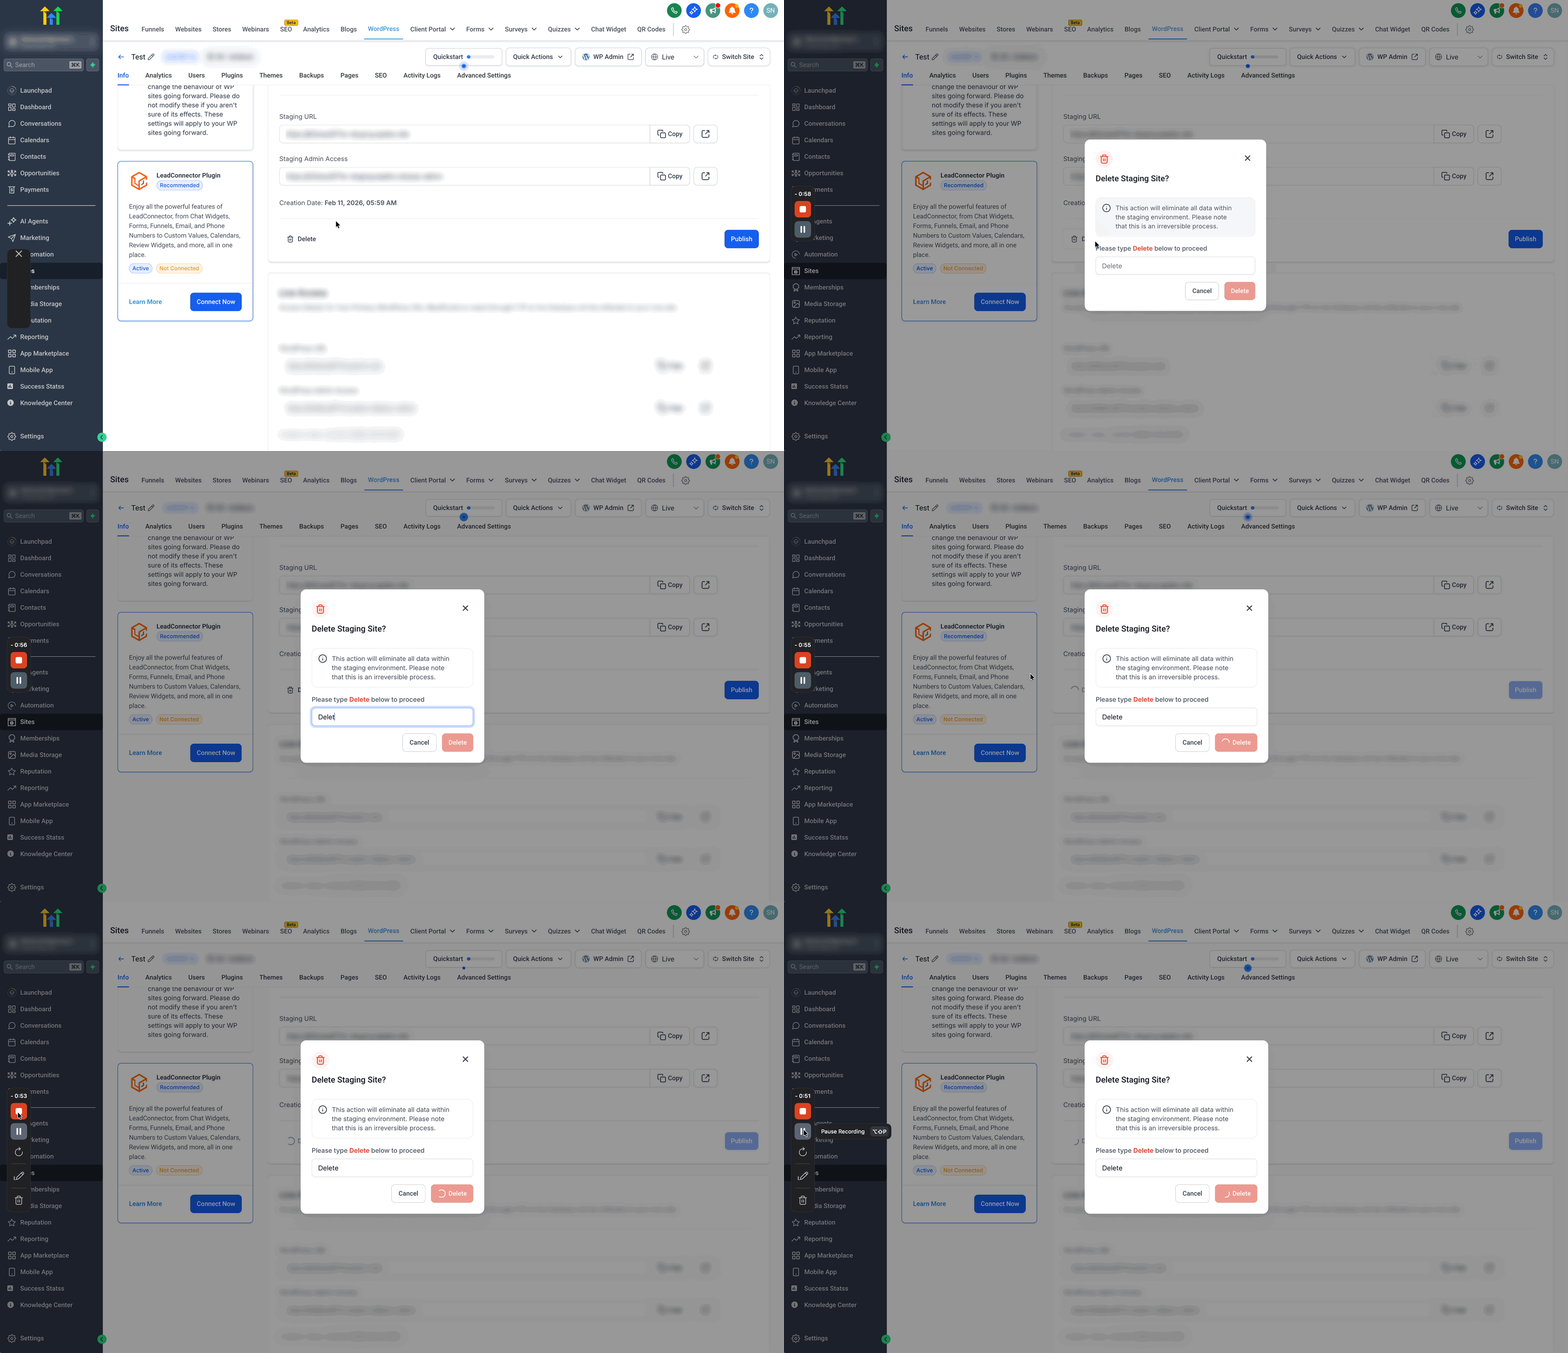
- Should you ever need to remove your existing staging environment and start afresh, simply click on the "Delete" button to initiate the process.
Best Practices for Using the Staging Environment
NOTE: Direct changes made in the live sites won’t get updated in Staging Environment site.
- Regular Backups: Before making any significant changes in your staging environment, ensure you have recent backups of your live site. This precautionary measure allows you to restore your site if any issues arise during testing.
- Testing Checklist: Develop a testing checklist that outlines the specific elements, features, and functionalities you need to test. This checklist helps ensure comprehensive testing and prevents oversight.
- Content Review: Thoroughly review all content changes, including text, images, and multimedia elements, to ensure accuracy, consistency, and relevance.
- Reconciliation: Before publishing changes to the live site, reconcile any differences or conflicts between the staging and live environments. Ensure that all necessary updates have been synchronised.
- Cleanup: Regularly clean up your staging environment by removing outdated or unnecessary files, databases, and configurations. This helps maintain an efficient and clutter-free workspace.
Frequently Asked Questions
Q: Do changes in Staging affect my live site?
No. Edits in Staging do not impact Live until you publish to Live.
Q: What happens when I publish from Staging to Live?
All staging changes are pushed to Live and the action is irreversible.
Q: Why are some areas disabled when I’m in Staging?
Those are Live‑only features. You’ll see a message prompting you to switch to Live to access them.
Q: How long does creating a staging environment take?
Preparation may take some time, duration can vary.