Overview
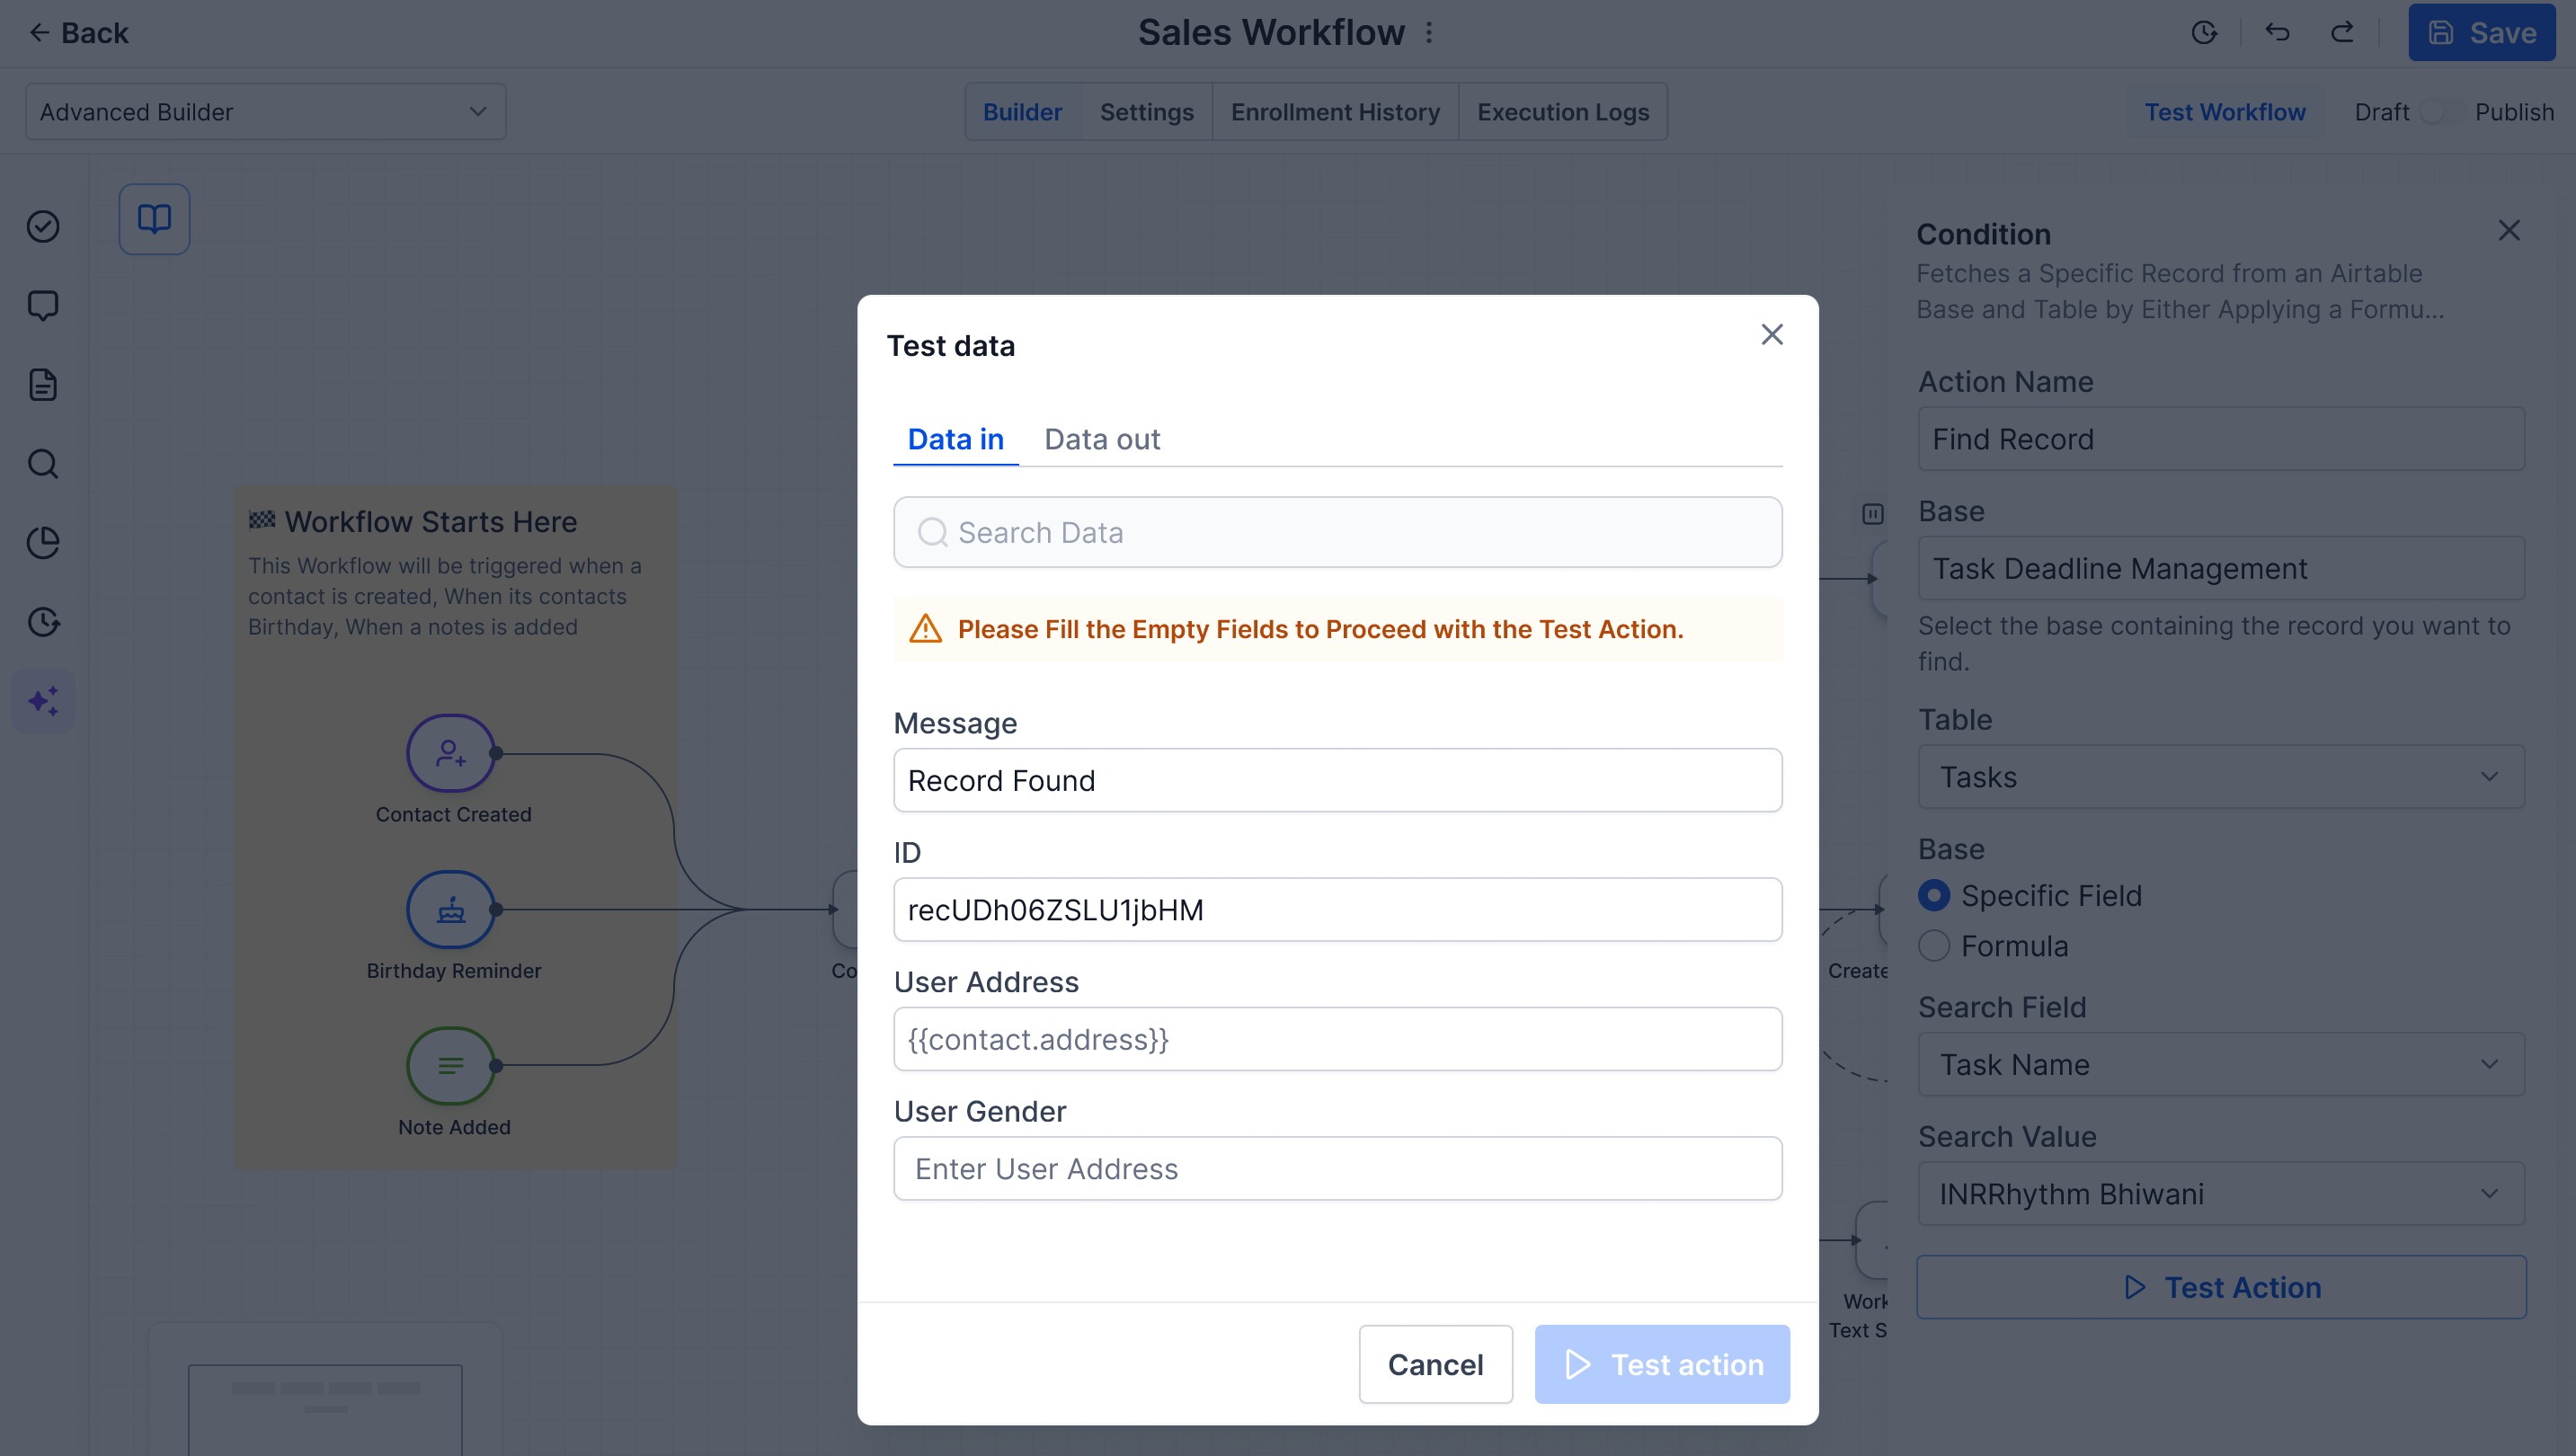
Test Action is a live testing capability available on every external-app action step inside the Workflow Builder. When you click the Test Action button on an action configuration card, the builder runs that action against the connected app as a real API call using your resolved input values, your Connected Account, and the same execution path it will use at runtime. The response comes back in a right-side Test Drawer with two panes: Data In (what was sent) and Data Out (the raw provider response, with key fields surfaced as chips and cards above the JSON).
If the test succeeds, you can click Use this as sample to lock the response as the addressable schema — every field, including arrays and nested objects, becomes available as a reference in subsequent action steps and conditional branches.
About Test Action
Test Action is part of the Workflow Builder’s core capabilities. It is available on every external-app action — across all installed integrations — and replaces the old workflow of ‘publish, enroll a test contact, watch logs’ with an in-builder, pre-publish validation flow.
Available on: every external-app action step (Find Contact, Create Card, Send Message, Update Record, and so on across all integrations).
Execution: real API call against the live provider using the same Connected Account the action will use at runtime.
Output: a side drawer showing Data In, Data Out, and (on success) the option to lock the response as the addressable schema.
Before You Test: Prerequisites
A test will only run when the following are in place:
Connected Account — the integration must be connected via OAuth or API key on the action’s Connected Account dropdown. A test cannot run with a disconnected account.
Required fields — every required input on the action must be filled (literal value or workflow variable). The Test button stays disabled until required inputs are complete.
Upstream custom values resolvable — if the action references the output of an earlier action step, that earlier step must either have a saved sample or itself have been tested. The builder prompts you to provide one if it’s missing.
Network access — Test Action makes a live outbound API call. If the provider is down or your account is rate-limited, the test will fail with the provider’s error code surfaced in the drawer.
How to Run a Test
Step 1: Configure the action
Open the workflow and click on the action step you want to test (or add a new one).
Pick the integration and the action from the Apps tab — for example, ‘Find Contact in Klaviyo’ or ‘Create Card in Trello’.
Map every required input — literal values, workflow variables, or references to upstream action outputs.
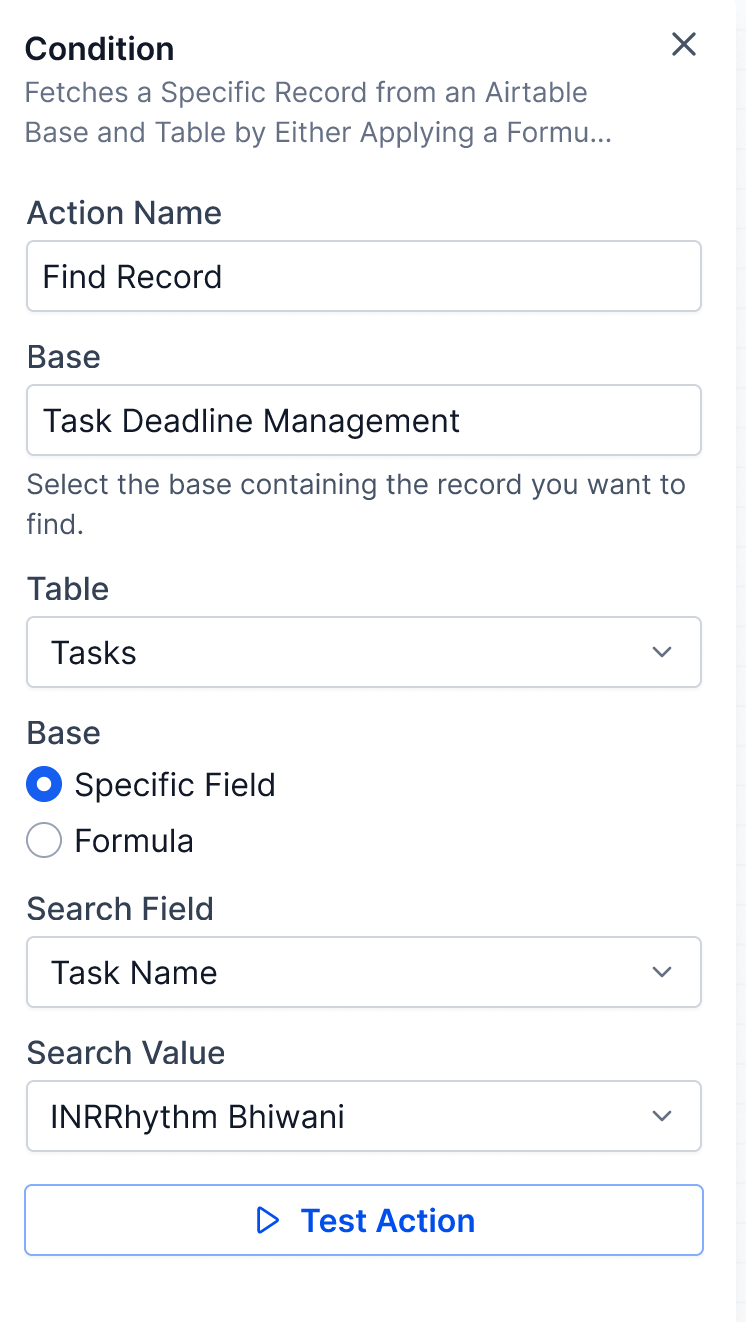
Step 2: Click Test Action
Find the Test Action button on the action configuration card. It becomes enabled once all prerequisites are met.
Click it. The Test Drawer slides in from the right with a progress indicator.
Step 3: Confirm if the action has side effects
If the action creates or modifies data in the connected app (Create Contact, Create Card, Update Record, Send Message, etc.), a confirmation popup appears.
The popup text reads: “This action will actually perform a live test that may create or modify data in the connected app.”
Click Yes, Run Test to proceed, or Cancel to abort. Cancel has default focus — accidental Enter presses do not run the test.
Step 4: Review Data In and Data Out
On a successful call, the drawer populates Data In (the resolved inputs sent to the provider) and Data Out (the raw provider response).
Key fields surface as chips and cards above the JSON; scroll through the expandable JSON for the full payload.
Click Use this as sample to lock the response schema for downstream steps.
Step 5: Save and continue
Save the action. Subsequent steps can now reference any field in the locked schema by name.
If the test failed, fix the offending field (highlighted on the action configuration) and click Test Action again. The drawer supports unlimited retests.
Reading the Test Drawer
The Test Drawer has three regions, top to bottom:
Status header — shows the outcome (Success, Failure, or In Progress), the HTTP status code, and the duration of the call.
Data In pane — the resolved inputs sent to the provider. This is the post-interpolation payload, not the form fields you typed. Use it to confirm variable substitutions and transformations resolved to what you expected.
Data Out pane — the raw provider response. Key fields surface as chips and cards above an expandable JSON tree for full inspection. Large payloads scroll inside the pane.
On a successful test, the Use this as sample button appears at the bottom of the drawer. On a failed test, the drawer surfaces a structured error card instead — see Handling Test Failures below.