This is a comprehensive guide that will help you migrate from Kajabi to SourCherry. It will cover the steps necessary to transition your online courses, automations, offers, and other digital assets, ensuring that you can fully utilize SourCherry’s comprehensive marketing automation and CRM features.
TABLE OF CONTENTS
- Preparation for Migration
- Migrate Courses
- Migrate Contacts
- Migrate Calendars
- Migrate Offers & Automation
- Migrate Website and Funnels
- Final Checks and Training
- Cancel Kajabi Subscription
Preparation for Migration
Step 1: Review Current Kajabi Setup
- Identify Key Assets: List all courses, offers, automations, and other digital assets in Kajabi.
- Document Workflows: Record details of Kajabi automations, email campaigns, and integrations that are critical to your operations.
- Assess Data Volume: Evaluate the amount of content (e.g., videos, attachments) and data (e.g., contacts, orders) to be migrated.
Step 2: Define Migration Goals
- Set Clear Objectives: Determine what you aim to achieve by migrating to SourCherry, such as enhanced CRM capabilities, integrated marketing automation, or cost savings.
- Prioritize Features: Decide which content and workflows are most critical to migrate first.
Step 3: Prepare Backup
- Backup Data: Ensure all data is securely backed up before beginning the migration process.
Improved Kajabi Import Reliability
SourCherry has improved Kajabi course imports to better support large and nested course structures.
The updated import process now:
- Detects and expands “Show More” sections automatically
- Captures lessons inside nested categories and subcategories
- Improves reliability for large course imports
These enhancements help ensure all available Kajabi lessons and modules are imported more consistently.
Migrate Courses
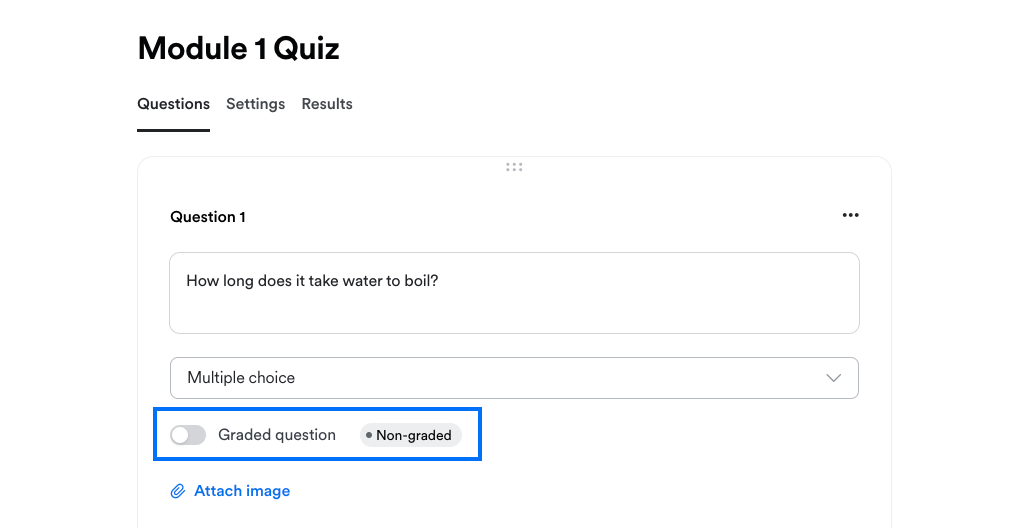
SourCherry’s Kajabi Importer allows you to easily transfer courses, including videos, text, and images. Note that assignments and quizzes will not be transferred automatically and will need to be recreated manually within SourCherry.
Step 1: Setup for Success
- Create a Backup: Before starting, make a backup of your Kajabi themes and course content so you have a copy.
- Plan the Migration: Start the migration during off-hours to reduce any disruption for learners and keep the process smooth.
Step 2: Migrate Courses to SourCherry
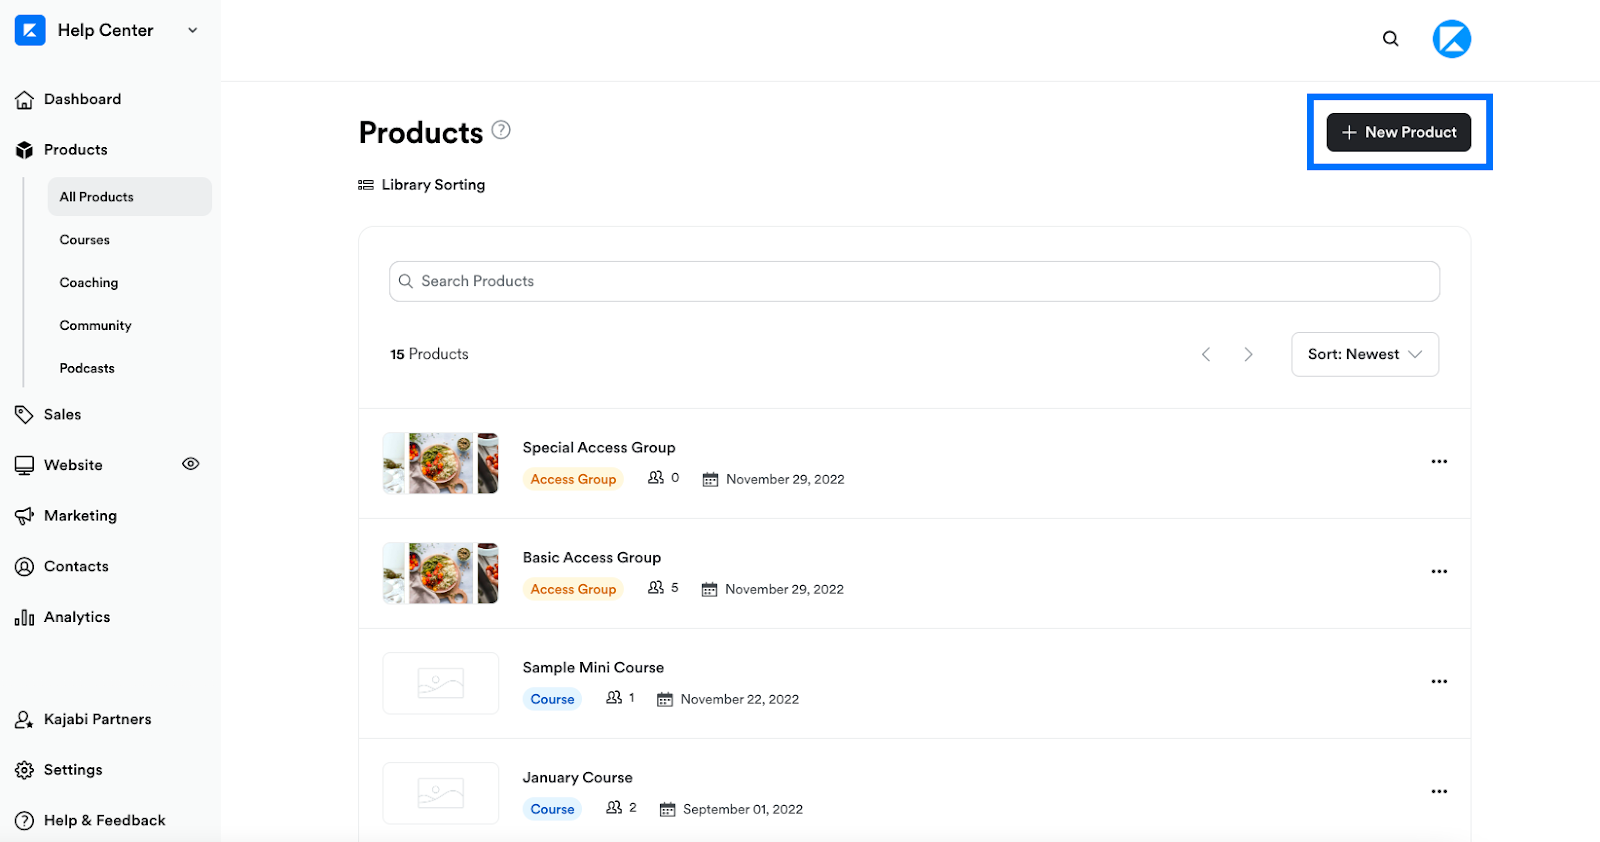
- Use the Kajabi Course Importer: Go to Sites > Memberships in SourCherry and select Import from Kajabi.
- Authenticate Your Kajabi Account: Follow the steps to securely connect your Kajabi account.
- Select Courses to Import: Choose which courses you want to transfer. Only published lessons will be brought over, so make sure all content is live.
- Start the Import: Start the Import: Click Import Course and wait for the process to finish. It might take a few minutes, depending on the course size.
Step 3: Recreate Assignments and Quizzes in SourCherry
- Choose a Product
- Go to Sites > Memberships > Products in SourCherry.
- Select the product where you want to add an assessment.
- Click the "+" icon next to the section title and choose Add Assessment.
- Go to Sites > Memberships > Products in SourCherry.
- Create an Assessment
- Enter a Title for your assessment and click Save.
- Enter a Title for your assessment and click Save.
- Set Passing Grade (Optional):
- Decide if the assessment needs a passing grade.
- If yes, set the minimum score required to pass.
- Decide if the assessment needs a passing grade.
- Custom Messages:
- Create pass/fail messages based on student scores.
- Create pass/fail messages based on student scores.
- Add Questions:
- Choose either Single Choice (one correct answer) or Multiple Choice (multiple correct answers).
- Type your question and use "Add choice" to enter possible answers.
- Mark the correct option(s) using the “Correct Option” checkbox.
- Choose either Single Choice (one correct answer) or Multiple Choice (multiple correct answers).
- Save & Publish the Assessment:
- Go back to the Product Editing Page after saving.
- Click on the “Publish” option next to your Assessment when it’s ready to go live.
- Once published, the assessment will be visible and accessible to all course members
- Go back to the Product Editing Page after saving.
Migrate Contacts
Step 1: Export Contact List from Kajabi
- Navigate to the Contacts tab in Kajabi.
- Select all contacts and use the bulk action dropdown to export as a CSV file.
- The CSV file will be emailed to the address associated with the Kajabi account. Download this file promptly as the link expires in 3 days.
Step 2: Prepare CSV for SourCherry Import
- Check Date Formats: Ensure all date fields in the CSV are in the YYYY-MM-DD format. This is essential for compatibility with SourCherry.
- Encode Special Characters: Make sure the CSV file uses UTF-8 character encoding to properly handle special and accented characters.
- Clean Up Data: Remove any line breaks, emojis, and unnecessary special characters from the file. This step helps prevent import errors.
- Recreate Custom Fields: Log in to SourCherry and navigate to Contacts > Settings > Custom Fields. Add custom fields to store contact data in a similar way to how they were stored in Kajabi.
Step 3: Import Contacts into SourCherry
- Log in to SourCherry: Navigate to the Contacts section using the left-hand menu.
- Start Import Process: Click the Import Contacts button.
- Upload CSV File: Select and upload the prepared CSV file.
- Map Fields: SourCherry will prompt you to map the fields from the CSV file to the corresponding fields in SourCherry. For example, map “First Name” in the CSV to “First Name” in SourCherry.
- Field Mapping Tip: Ensure all required fields are correctly mapped. If a field in your CSV does not have a corresponding field in SourCherry, you may need to create a custom field in SourCherry before proceeding.
- Field Mapping Tip: Ensure all required fields are correctly mapped. If a field in your CSV does not have a corresponding field in SourCherry, you may need to create a custom field in SourCherry before proceeding.
- Assign Tags and Lists: During the import process, you can assign contacts to specific lists and apply tags. Consider applying a tag that indicates the source of the contacts, such as "Course A - Enrolled" or “Imported from Kajabi.”
- Complete Import: After mapping all fields and setting tags/lists, click Import. SourCherry will process the import, and the contacts will be added to your account.
Click here for more information about Troubleshooting Bulk Imports Via CSV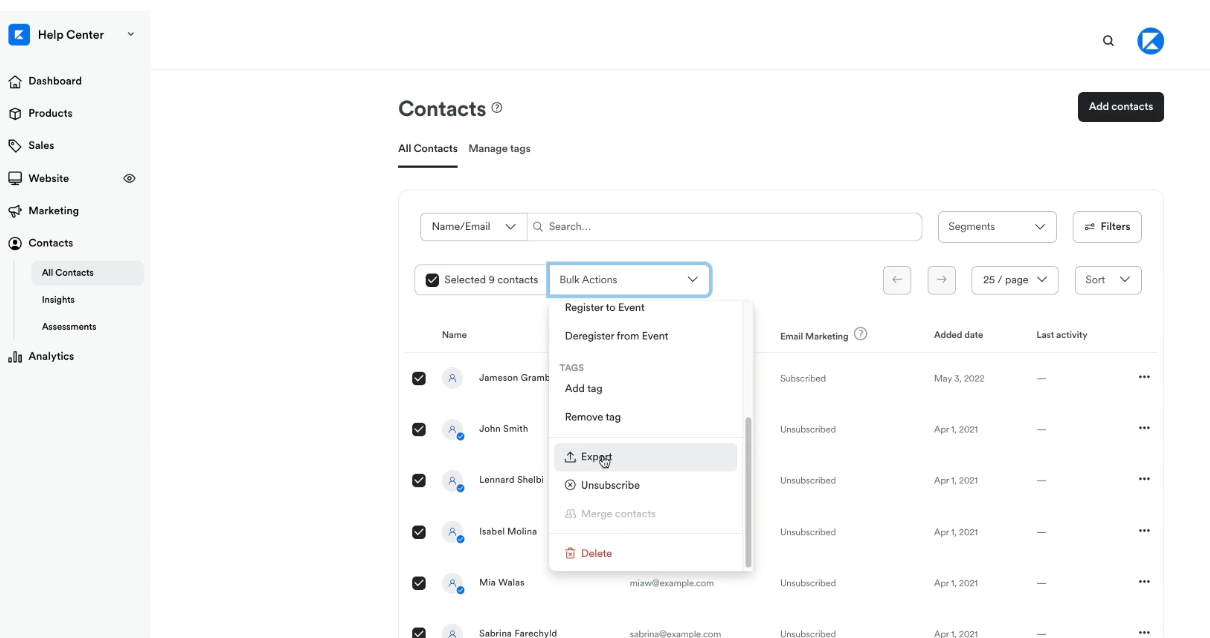
Migrate Calendars
Like SourCherry, Appointments in Kajabi support one time and recurring events. Migrate 3rd party calendars such as Google Calendar and Microsoft Outlook to prevent double booking in SourCherry Calendars.
If you're using Calendly for your Kajabi calendars & appointments check out this guide!
Step 1: Review Calendars Connected to Kajabi
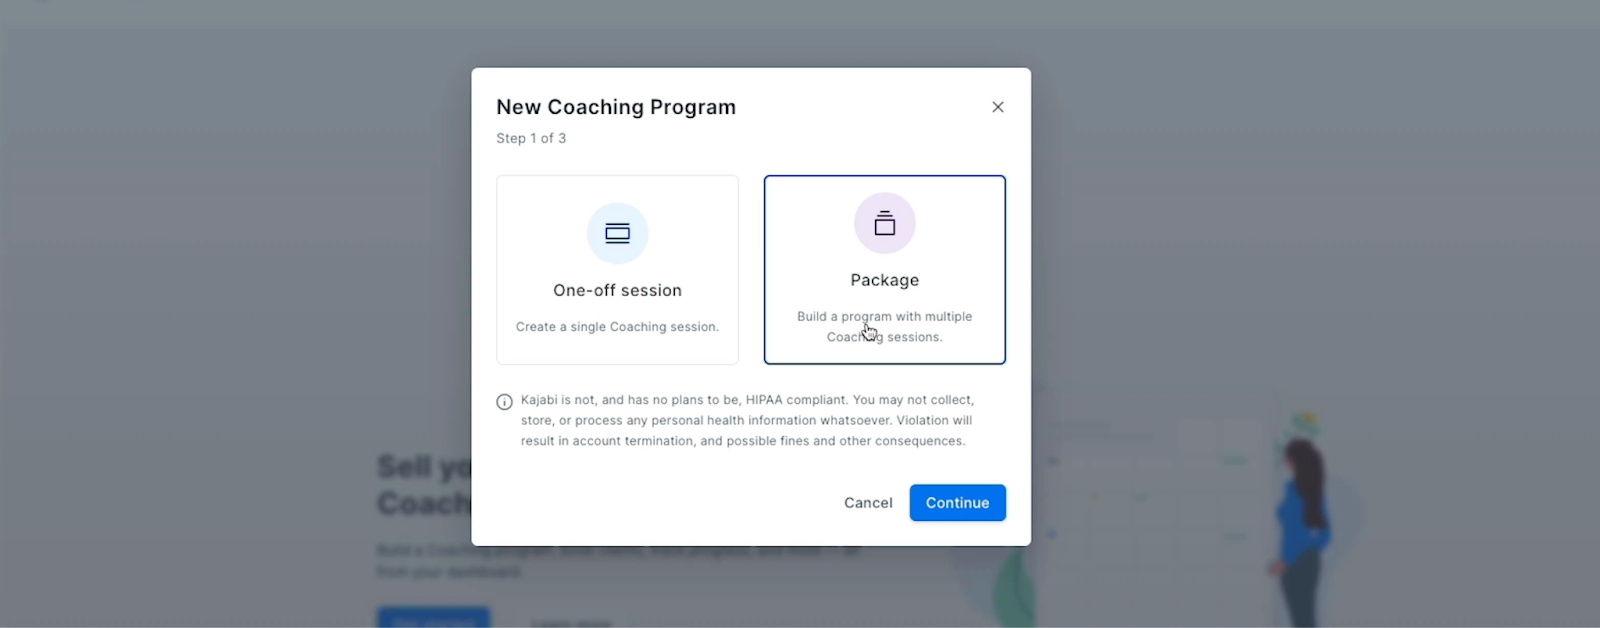
- Calendar Integrations: Go Products > Coaching > Settings to view your connected Google and Outlook calendars.
- Document Calendar Details: Make a note of each calendar’s purpose and where it’s used (e.g., on a website or for Zoom meetings). Include whether any calendars involve paid sessions.
Step 2: Recreate Kajabi Calendars in SourCherry
- Create SourCherry Calendars: Navigate to Sub-account Settings > Calendars. Set up each calendar to match the ones in Kajabi. Make sure to adjust settings like reminders, assigned users, and meeting locations.
- Add Calendar Integrations: Go to Subaccount Settings > Calendars > Connections to sync your Google or Outlook calendars with SourCherry.
- Set Up Recurring Appointments: For repeating events, manually configure recurrence rules in the SourCherry calendar settings.
- Preview and Test: Verify that your new calendars work as expected by comparing them with the existing Kajabi setup.
Step 3: Customize Your SourCherry Calendars
- SourCherry offers different calendar styles and settings. Here’s how to get started with common configurations:
- Create Round Robin Calendars: Use this setup if you want to distribute appointments among multiple team members.
- Set Up Class Schedules: Configure calendars for group sessions or classes.
- Recurring Appointments: Set up recurring sessions for ongoing meetings or classes.
- Advanced Customization: Adjust colors, availability, and user permissions to fit your needs.
- Create Round Robin Calendars: Use this setup if you want to distribute appointments among multiple team members.
- For more detailed instructions on these calendar types, visit the SourCherry help center and search for Calendars Setup.
Migrate Offers & Automation
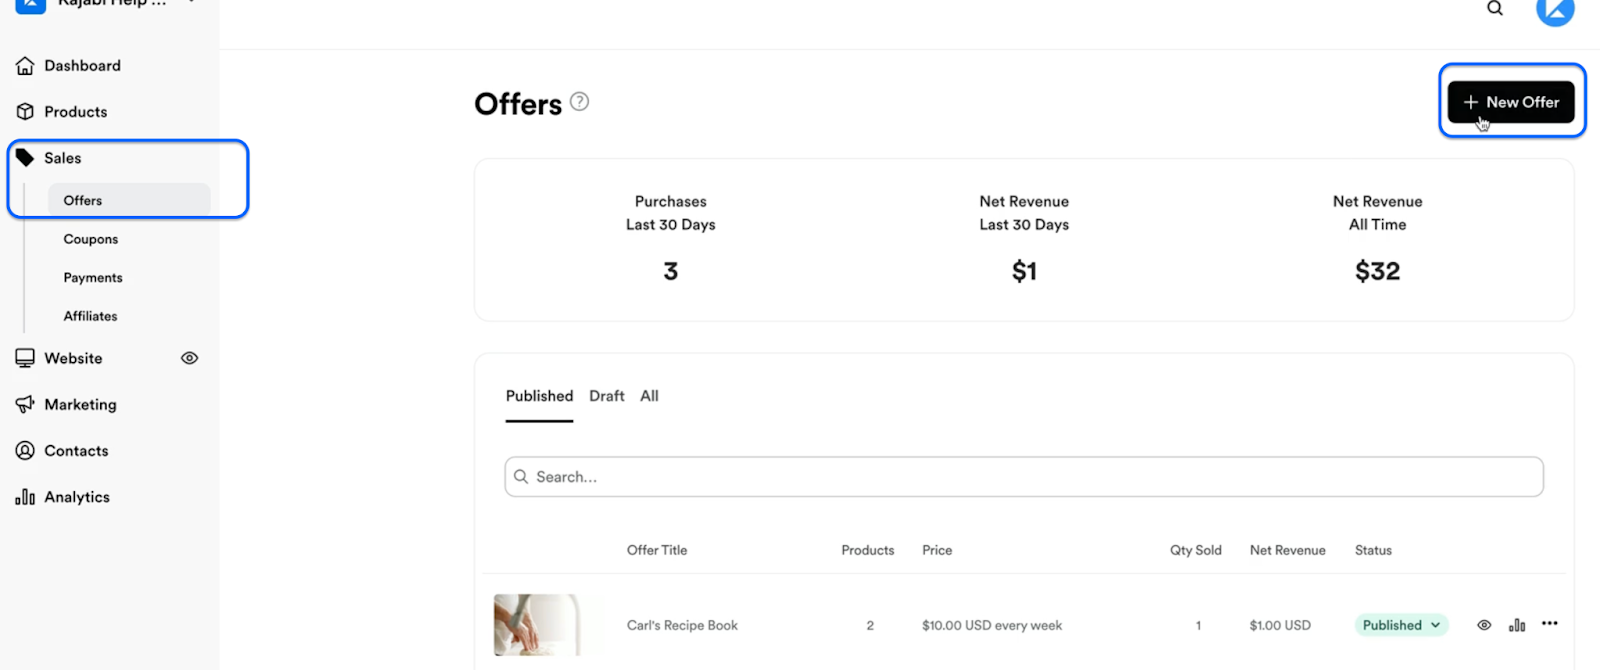
Step 1: Review Existing Kajabi Offers and Automations
- List Active Offers: Identify all free and paid offers in your Kajabi account, including the associated products, pricing, and payment settings.
- Document Automations: Note down all automations in Kajabi, including any email sequences, tags, and triggers used to control course access or other actions.
Step 2: Import Email Templates from Kajabi
- Create New Email Template in SourCherry:
- Go to Email Marketing > Templates in your SourCherry account.
- Click New and select Import Templates.
- Choose Kajabi from the dropdown menu.
- Go to Email Marketing > Templates in your SourCherry account.
- Copy the provided email ID: This will be used to send your templates.
- Go to Kajabi: Send the template you want to import as a test email or campaign to the copied email ID.
- Return to SourCherry: Click Continue, name the template, and select Create Template.
For more details, check out the SourCherry Kajabi Email Template Importer Guide.Step 3: Recreate Offers in SourCherry
- Navigate to Memberships in SourCherry: Go to the "Memberships" tab and click on the dropdown menu, then select "Offer."
- Create the Offer: Enter the title, choose the product(s) (courses), set the price, and then click Create.
- The offer will appear in the "DRAFT" tab until you choose to publish it.
- The offer will appear in the "DRAFT" tab until you choose to publish it.
- Link Membership Offer to a Product:
- Click on the "Payments" tab, then go to the "Products" tab.
- Click "+ Create Product" and fill out the product information.
- Enter the Pricing name, type, and amount.
- Go to "Additional Options", toggle the "Memberships" option, and select the appropriate membership offer.
- Click on the "Payments" tab, then go to the "Products" tab.
PLEASE NOTE: Ensure the offer is published for it to appear in the dropdown menu. For more details, see the SourCherry Offer Setup Guide.
Step 4: Recreate Automations in SourCherry
- Build New Workflows: Use SourCherry’s Workflows to replicate Kajabi automations. Set up triggers, actions, and conditions that match your Kajabi workflows.
- Available Actions: Utilize different actions like:
- Grant Course Access: For offering your learner's access to specific courses.
- Send Email: To replicate your email sequences.
- If/Else Conditions: To manage tags and user journeys.
- Grant Course Access: For offering your learner's access to specific courses.
For a complete overview, see the Introduction to Workflows and Automations and Course Access Actions Guide.Step 5: Test Workflows
- Test each workflow to ensure they function as expected. Verify triggers, email sequences, and course access settings, making adjustments as needed.
Migrate Website and Funnels
Use SourCherry’s Website Builder to recreate the pages from your Kajabi site, including the homepage, product pages, and contact pages. Customize the design to match your brand, leveraging SourCherry’s templates and blocks.
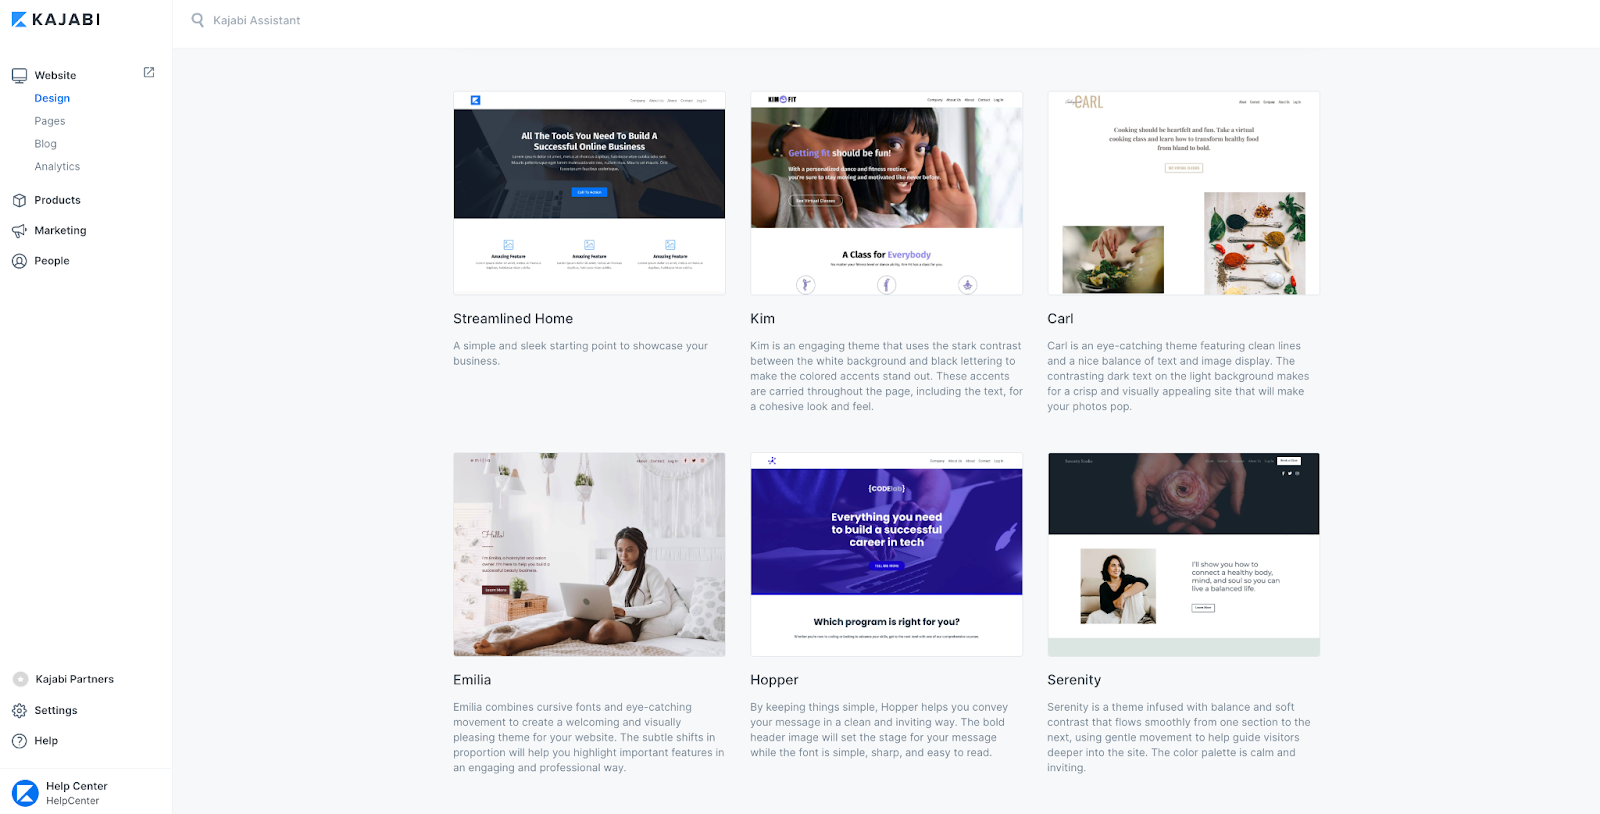
Step 1: Recreate Website Pages and Funnels in SourCherry
- Access the Site Builder: Navigate to Sites > Funnels & Websites in SourCherry to get started.
- Use the Template Library: Browse and choose templates that best match your Kajabi pages. This will speed up your setup and maintain a cohesive design. Learn more about the Template Library here.
- Build Each Page: Recreate key pages from Kajabi, such as your homepage, product pages, landing pages, and contact pages. Utilize pre-built blocks to replicate sections like hero banners, testimonials, and contact forms.
Step 2: Save, Draft, and Publish Your Pages
- As you build each page or funnel, Save your work, Preview changes, and Publish once you’re ready. This ensures that every change is live when you want it to be. For more guidance, visit Saving and Publishing Pages.
Step 3: Set up DNS Records
- Add an A Record: Use
162.159.140.166for root domains or subdomains.- Example: yoursitename.com
- Note: If using Cloudflare, set the Proxy Status to DNS Only as SourCherry does not support Cloudflare Proxy.
- Example: yoursitename.com
- Add a CNAME Record: Use
sites.ludicrous.cloudfor subdomains in your domain registrar (e.g., GoDaddy or Cloudflare).- Example: sometext.yoursitename.com
Step 4: Add the Domain to SourCherry
- Go to Settings > Domains, then click + Add Domain.
- Enter your domain (e.g.,
mydomain.com) or subdomain (e.g.,offer.mydomain.com) and select Add Record Manually. - For root domains, enable the www redirect to point traffic to your main domain.
Step 5: Link the Domain to a Funnel or Website
- After DNS verification, select which funnel or website to associate with the domain.
- Choose the default landing page for the domain (e.g., homepage).
- Click Link Domain. The system will automatically add an SSL certificate, which may take a few minutes to process.
For more details on linking domains, visit the SourCherry Domain Setup Guide.Final Checks and Training
Step 1: Perform Final Data Validation
- Cross-Check Data: Ensure all data has been successfully migrated, including contacts, course content, and offers.
- Validate Workflows: Confirm that all workflows and automations are operational in SourCherry.
Step 2: Train Team Members
- SourCherry Training: Provide training to your team on using SourCherry’s CRM, course management, and automation tools.
- Leverage Support Resources: Encourage team members to utilize SourCherry’s support resources for ongoing learning.
Step 3: Monitor and Optimize
- Monitor Performance: Track the performance of your new setup in SourCherry, making adjustments as needed.
- Continuous Improvement: Regularly review and refine your SourCherry setup to ensure it meets your business goals.
Cancel Kajabi Subscription
Step 1: Transition Period
- Run in Parallel: Consider running Kajabi and SourCherry in parallel during the transition phase to ensure no critical operations are missed.
- Gradual Phase-Out: Gradually reduce reliance on Kajabi as SourCherry becomes fully operational.
Step 2: Cancel Kajabi Subscription
- Final Data Backup: Ensure all data is securely backed up before canceling your Kajabi subscription.
- Official Cancellation: Follow Kajabi’s process to cancel your subscription and terminate services.
Step 3: Post-Migration Review
- Review Success: Evaluate the success of the migration and document any lessons learned.
- Continuous Monitoring: Keep monitoring the system post-migration for any potential issues.
Frequently Asked Questions
Q: What are drip settings in SourCherry courses?
A: Drip settings allow you to schedule when lessons or course content become available to members over time.
Q: Can drip values be set to 0?
A: No. Invalid drip values such as 0 are now blocked to prevent scheduling issues.
Q: Why was my drip setting not saved?
A: SourCherry now validates drip values before saving. Invalid scheduling values will be rejected automatically.
Q: Do these updates affect existing drip schedules?
A: No. Existing valid drip schedules continue to function normally.
Q: Are drip schedules available for memberships and courses?
A: Yes. Drip scheduling is supported within SourCherry course and membership products.